We’re excited to share this detailed design tutorial as a bonus Flower Class Session by Joseph Massie. With the excitement of Joe’s recently launched, Flower Class Membership, The Flower Class Sessions were created to offer you a little taste of the goodness you can expect to find inside the new membership offering.
At the end of the post we’ll include a link to our bonus episode with Joe. We discuss Flower Class in more detail, in addition, you can save through the end of February with a special offering for An Annual Flower Class Membership. Enjoy!

How I Made It : The Alternative Spring Bowl
with
The Flower Podcast

For this project, you will need :
1 x Bowl, dish or vase
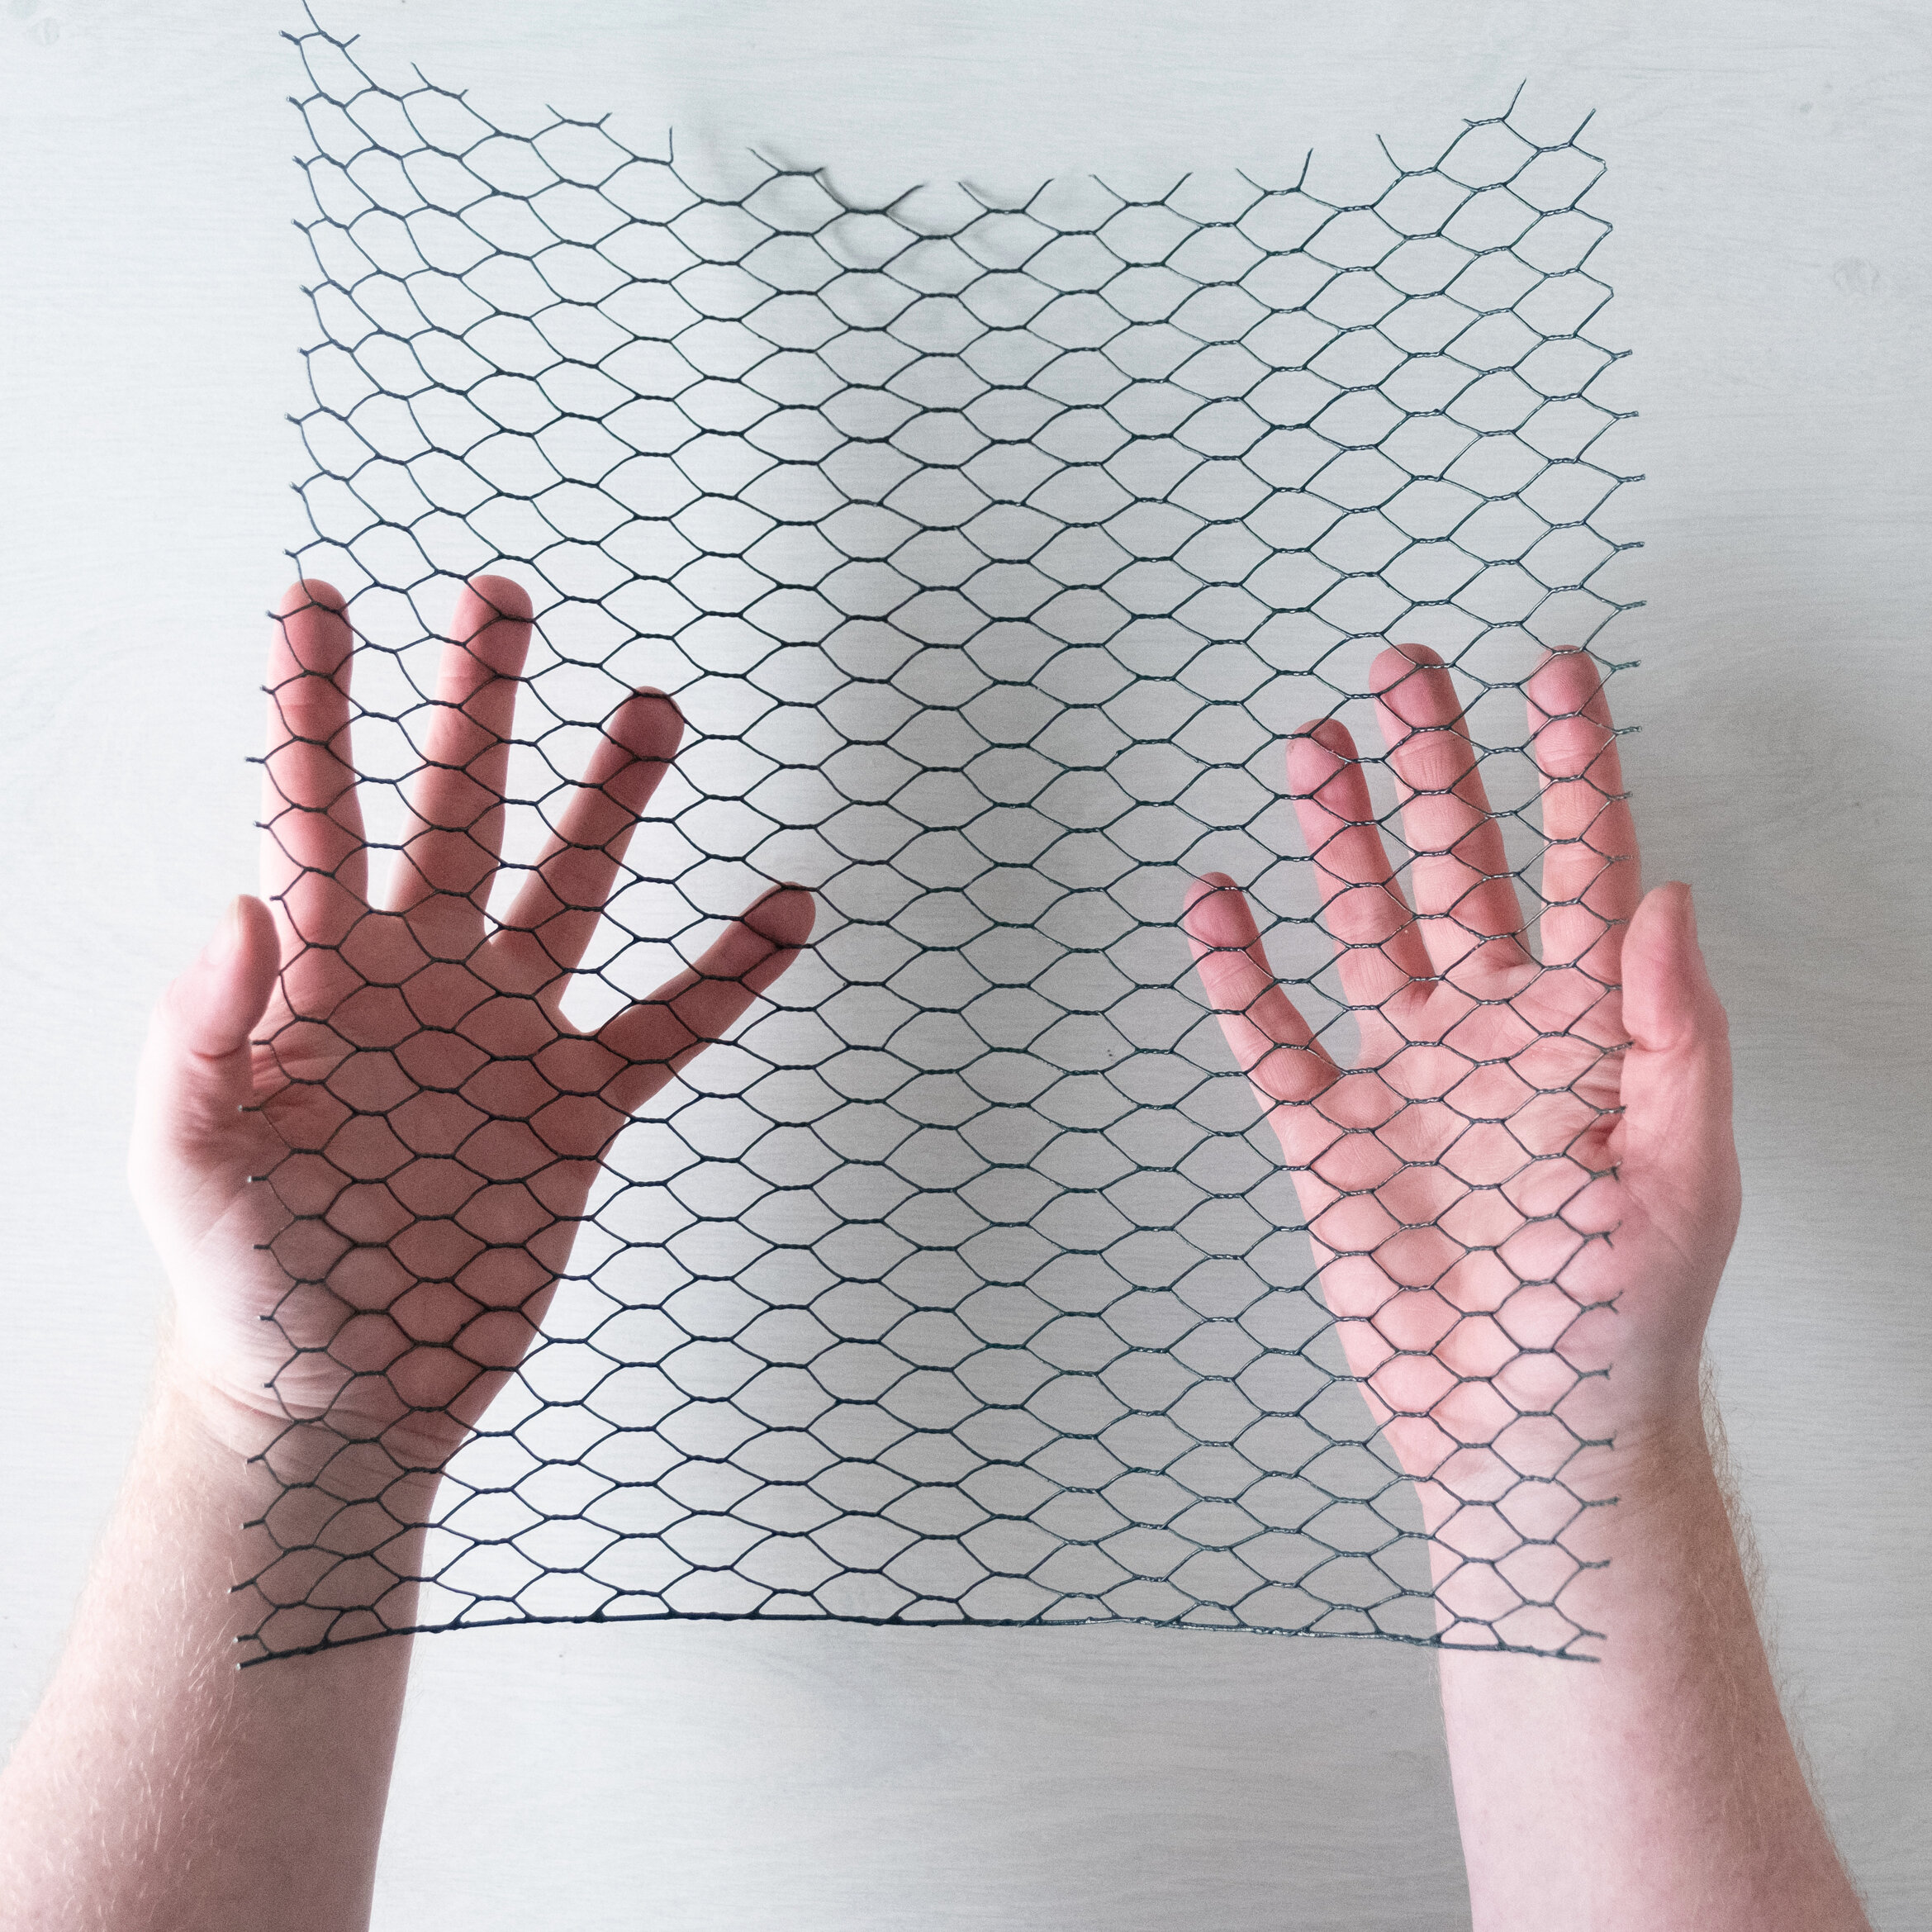
Chicken Wire
Paper covered wire
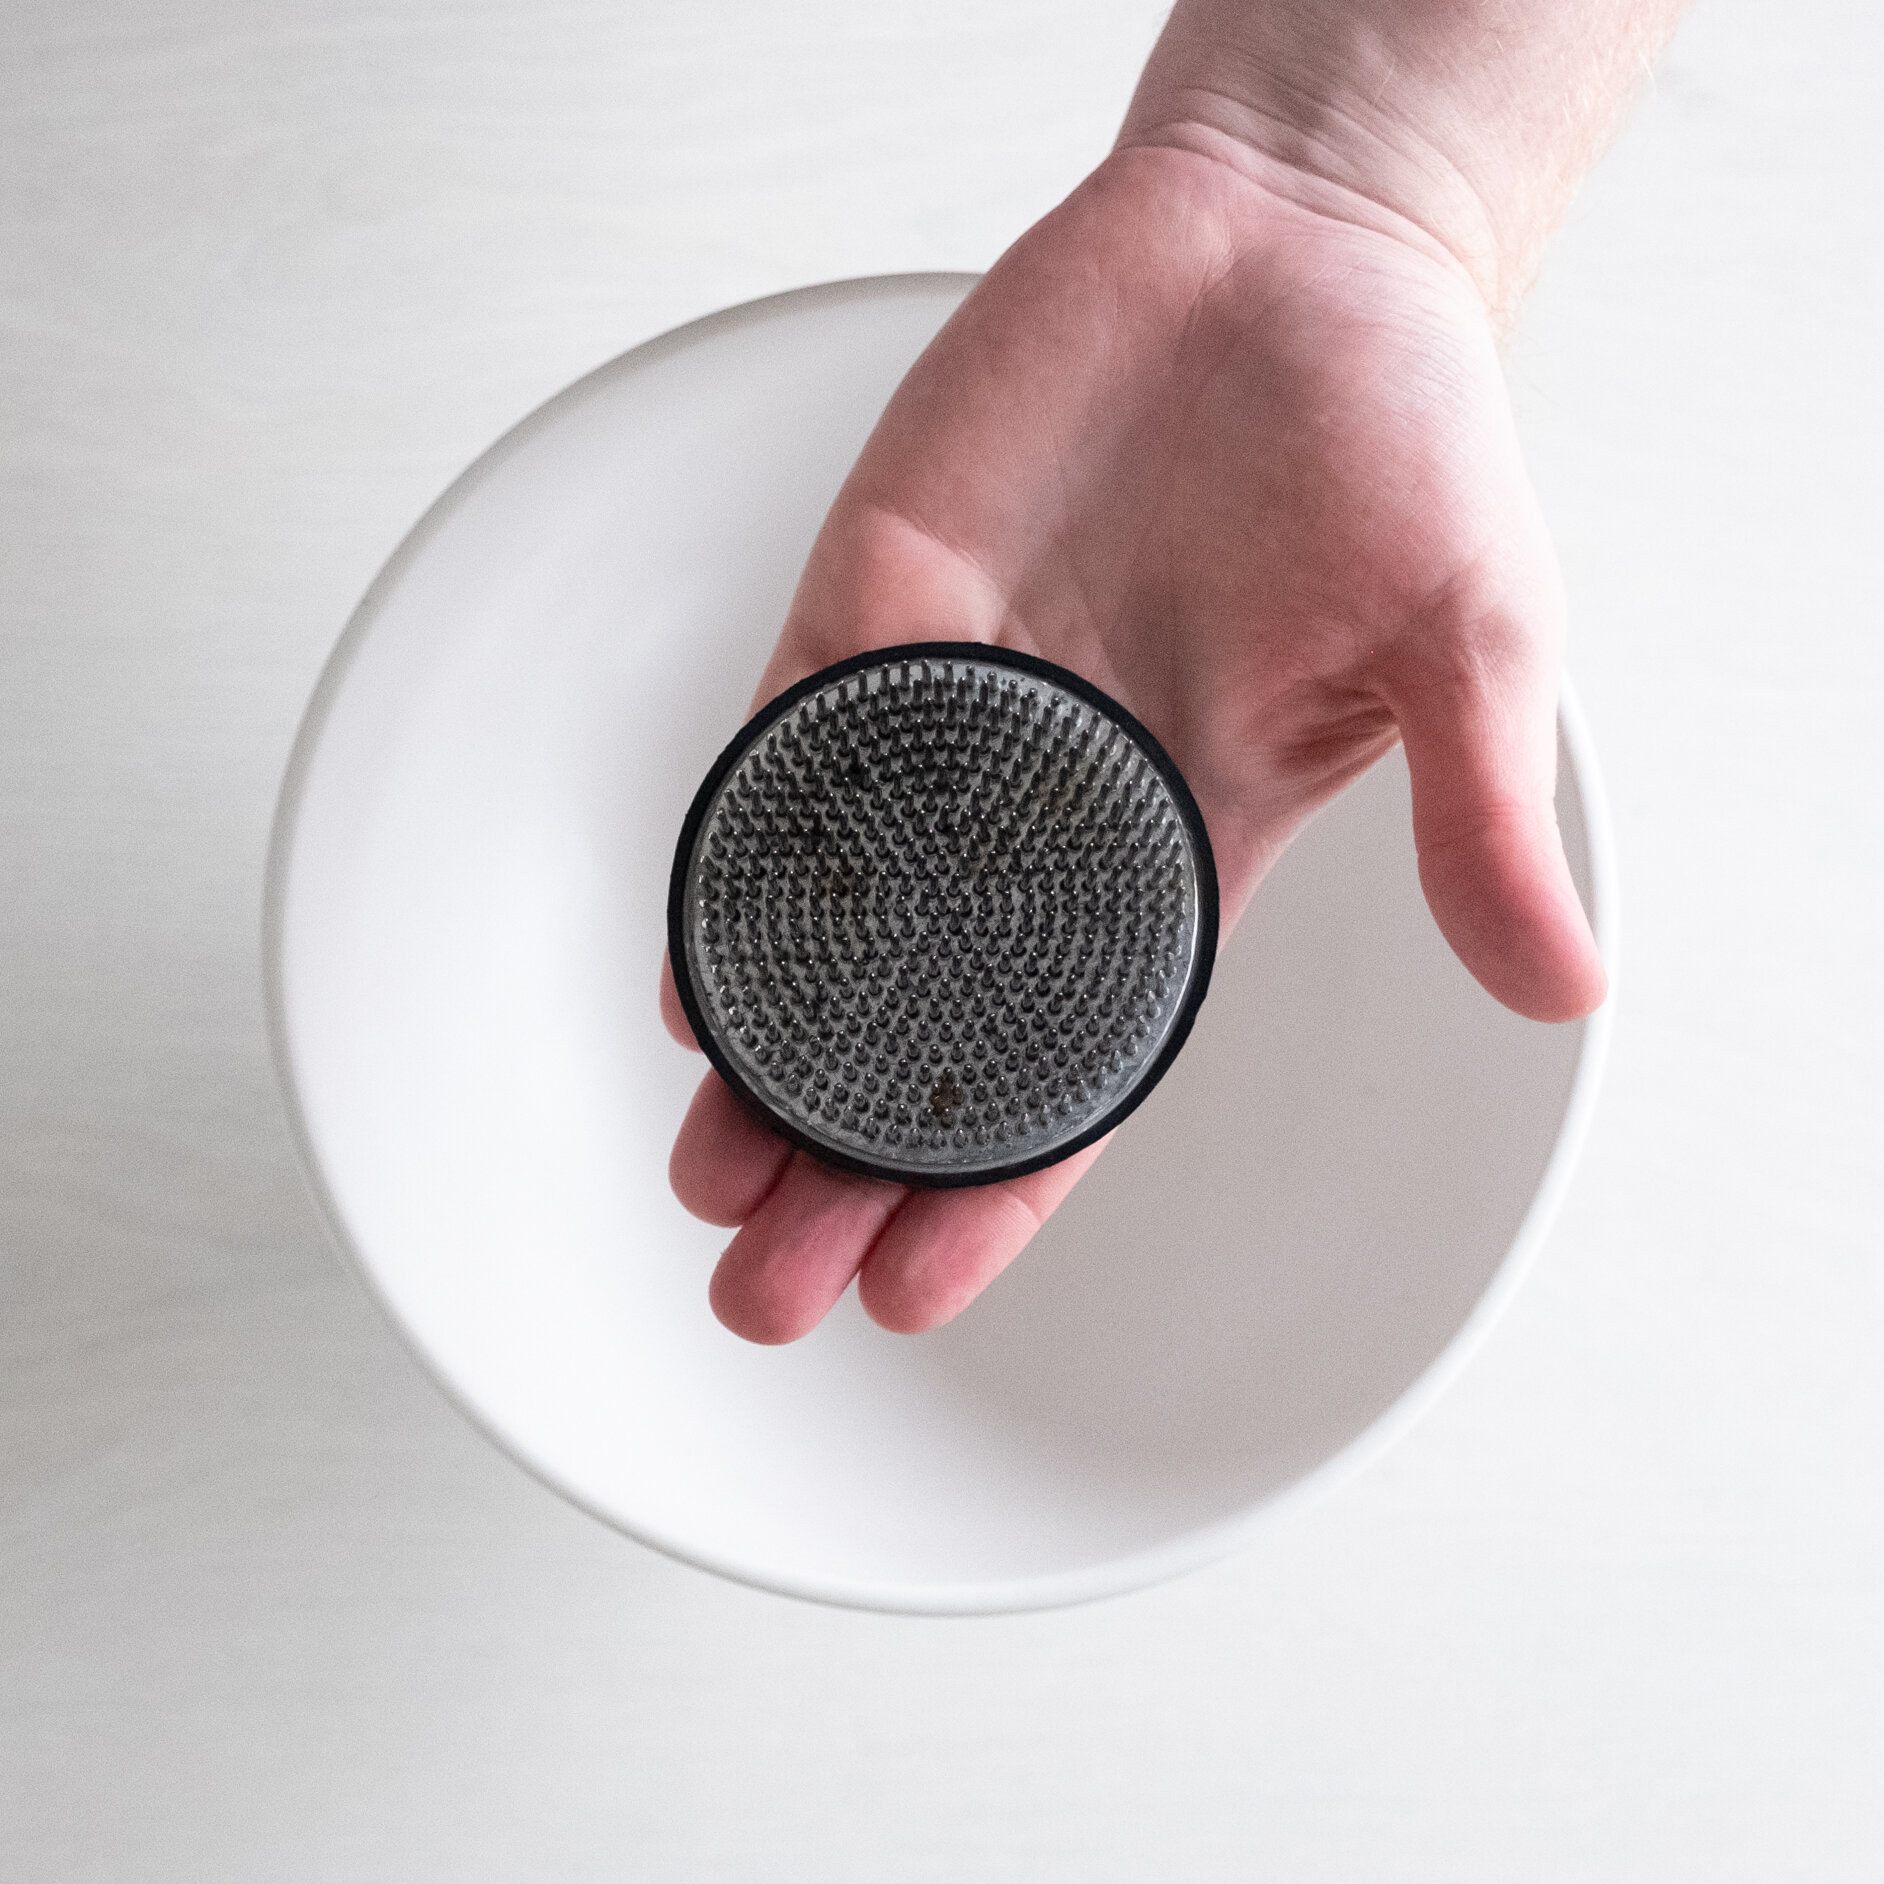
1 x Kenzan or pin holder
A small piece of Oasis Fix or Cling
Scissors, Secatuers or a Floral Knife
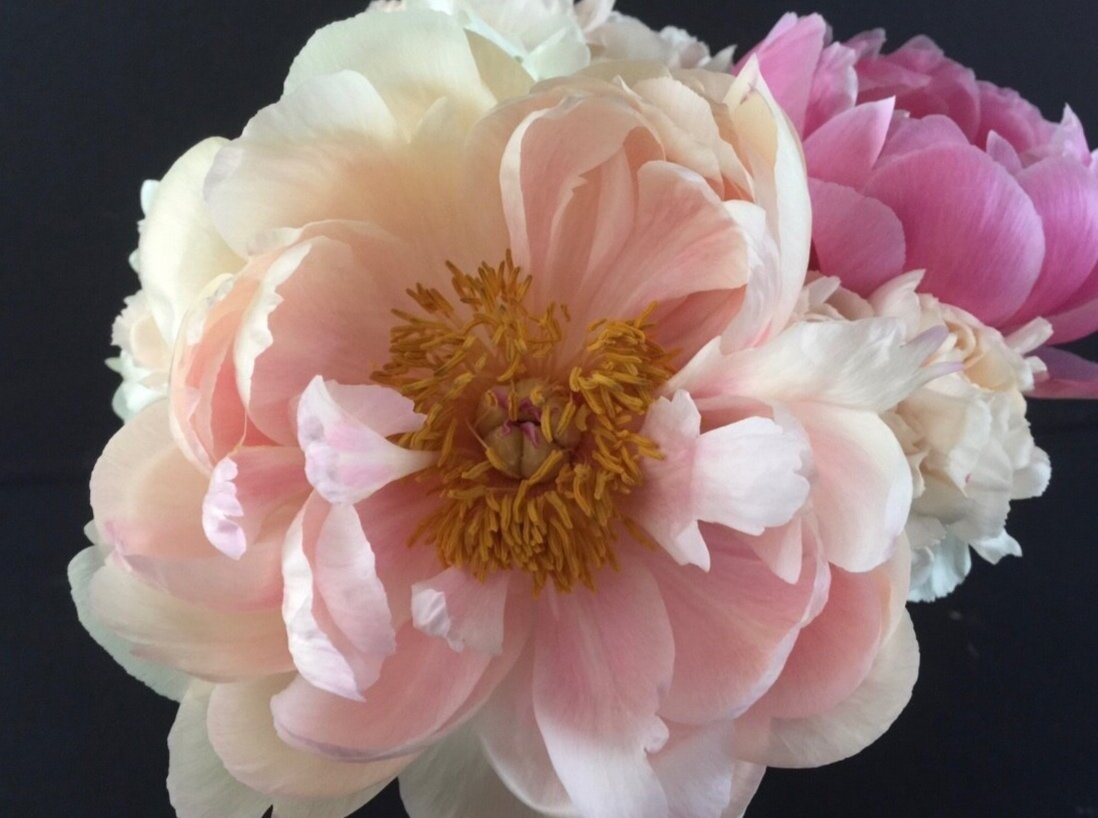
Although often charming, Spring flowers can sometimes be a little too vibrant - a little too in-your-face, if you know what I mean? Today I want to share a richer, darker colour palette, featuring a collection of my favourite seasonal blooms - Ranunculus and Hellebores. Depending upon where you are in the World, Ranunculus and Hellebore might not be blooming just yet, but as quintessential Spring blooms, they are the perfect blooms to use should you wish to recreate this design a little later in your local season. It’s worth noting that the techniques used in piece are very versatile and of course can be used for many other styles of bowl design too.
A side note before we dive into this article - please know that this How I Made It article features gifted product - the wonderful stems of Hellebore, grown by the wonderful Marginpar. If you haven’t worked with their Hellebore before, you are in for a real treat! For further information, be sure to check out the Marginpar range of blooms right here.

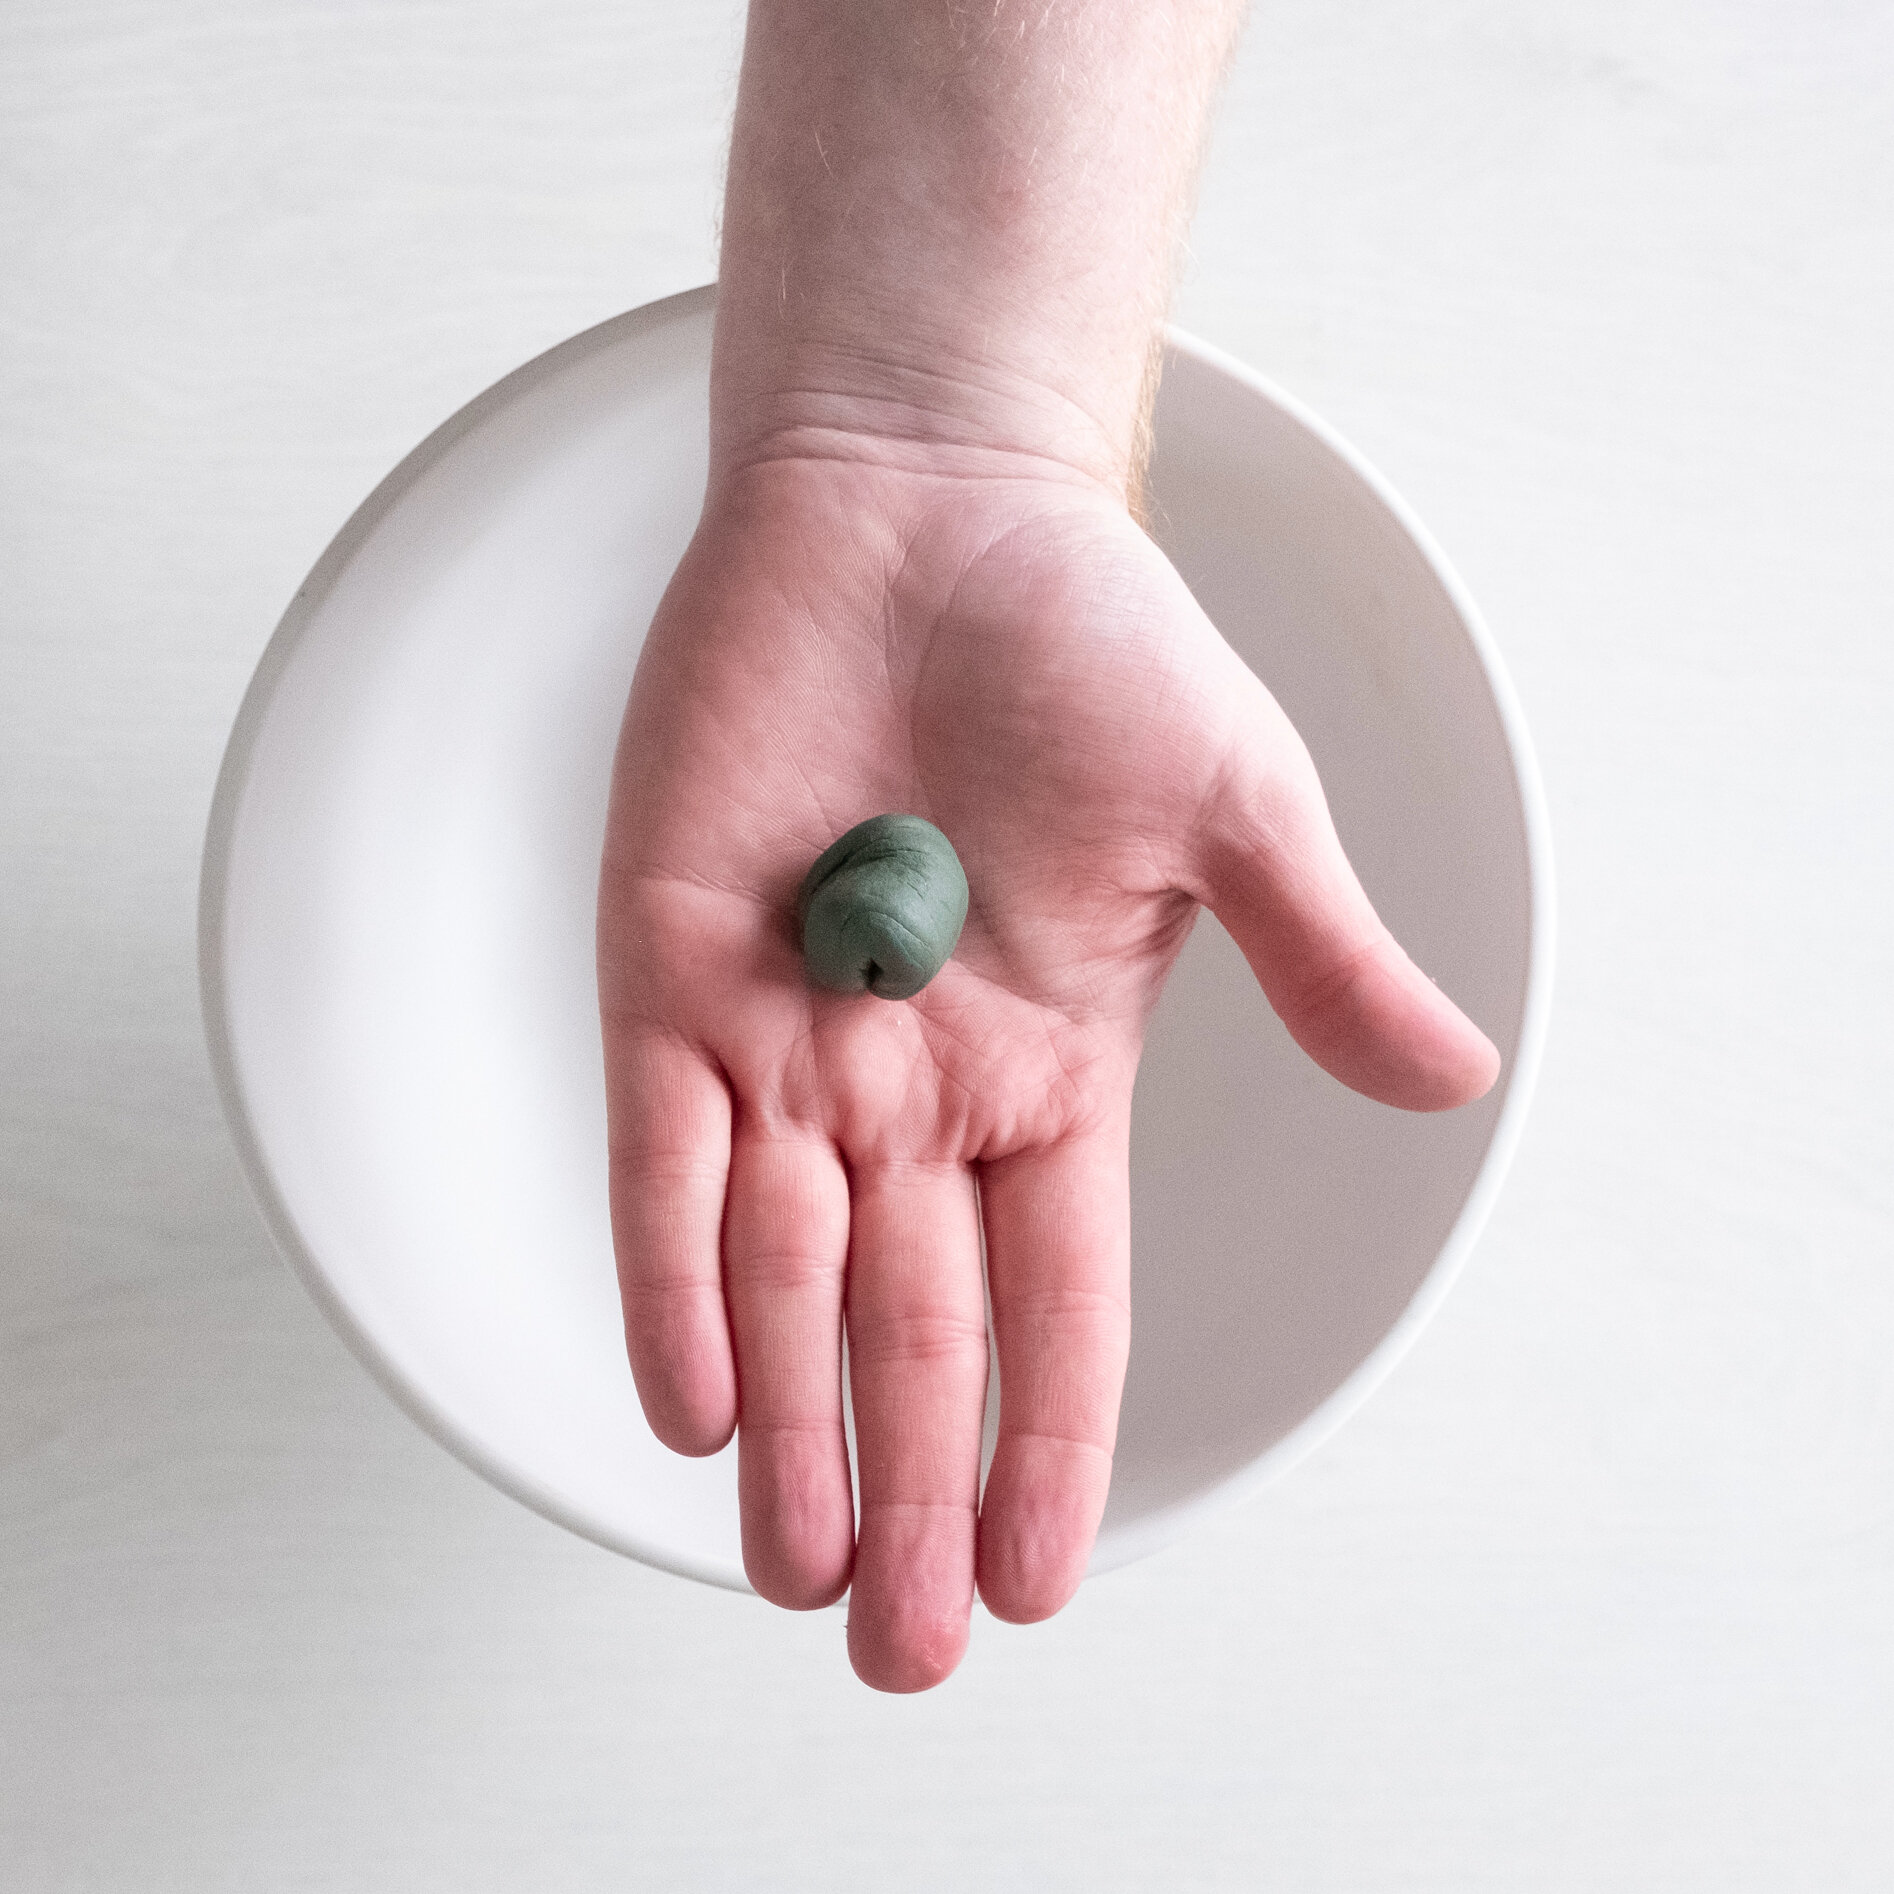
To begin, take a favourite bowl or container, and a small piece of oasis fix. Peel the paper from the fix, and roll it into a ball in your hands - you’ll feel it become more malleable as you the fix becomes warmer.
Take your pin-holder or kenzan, and place the fix to the back of your pin holder, ideally in the centre.

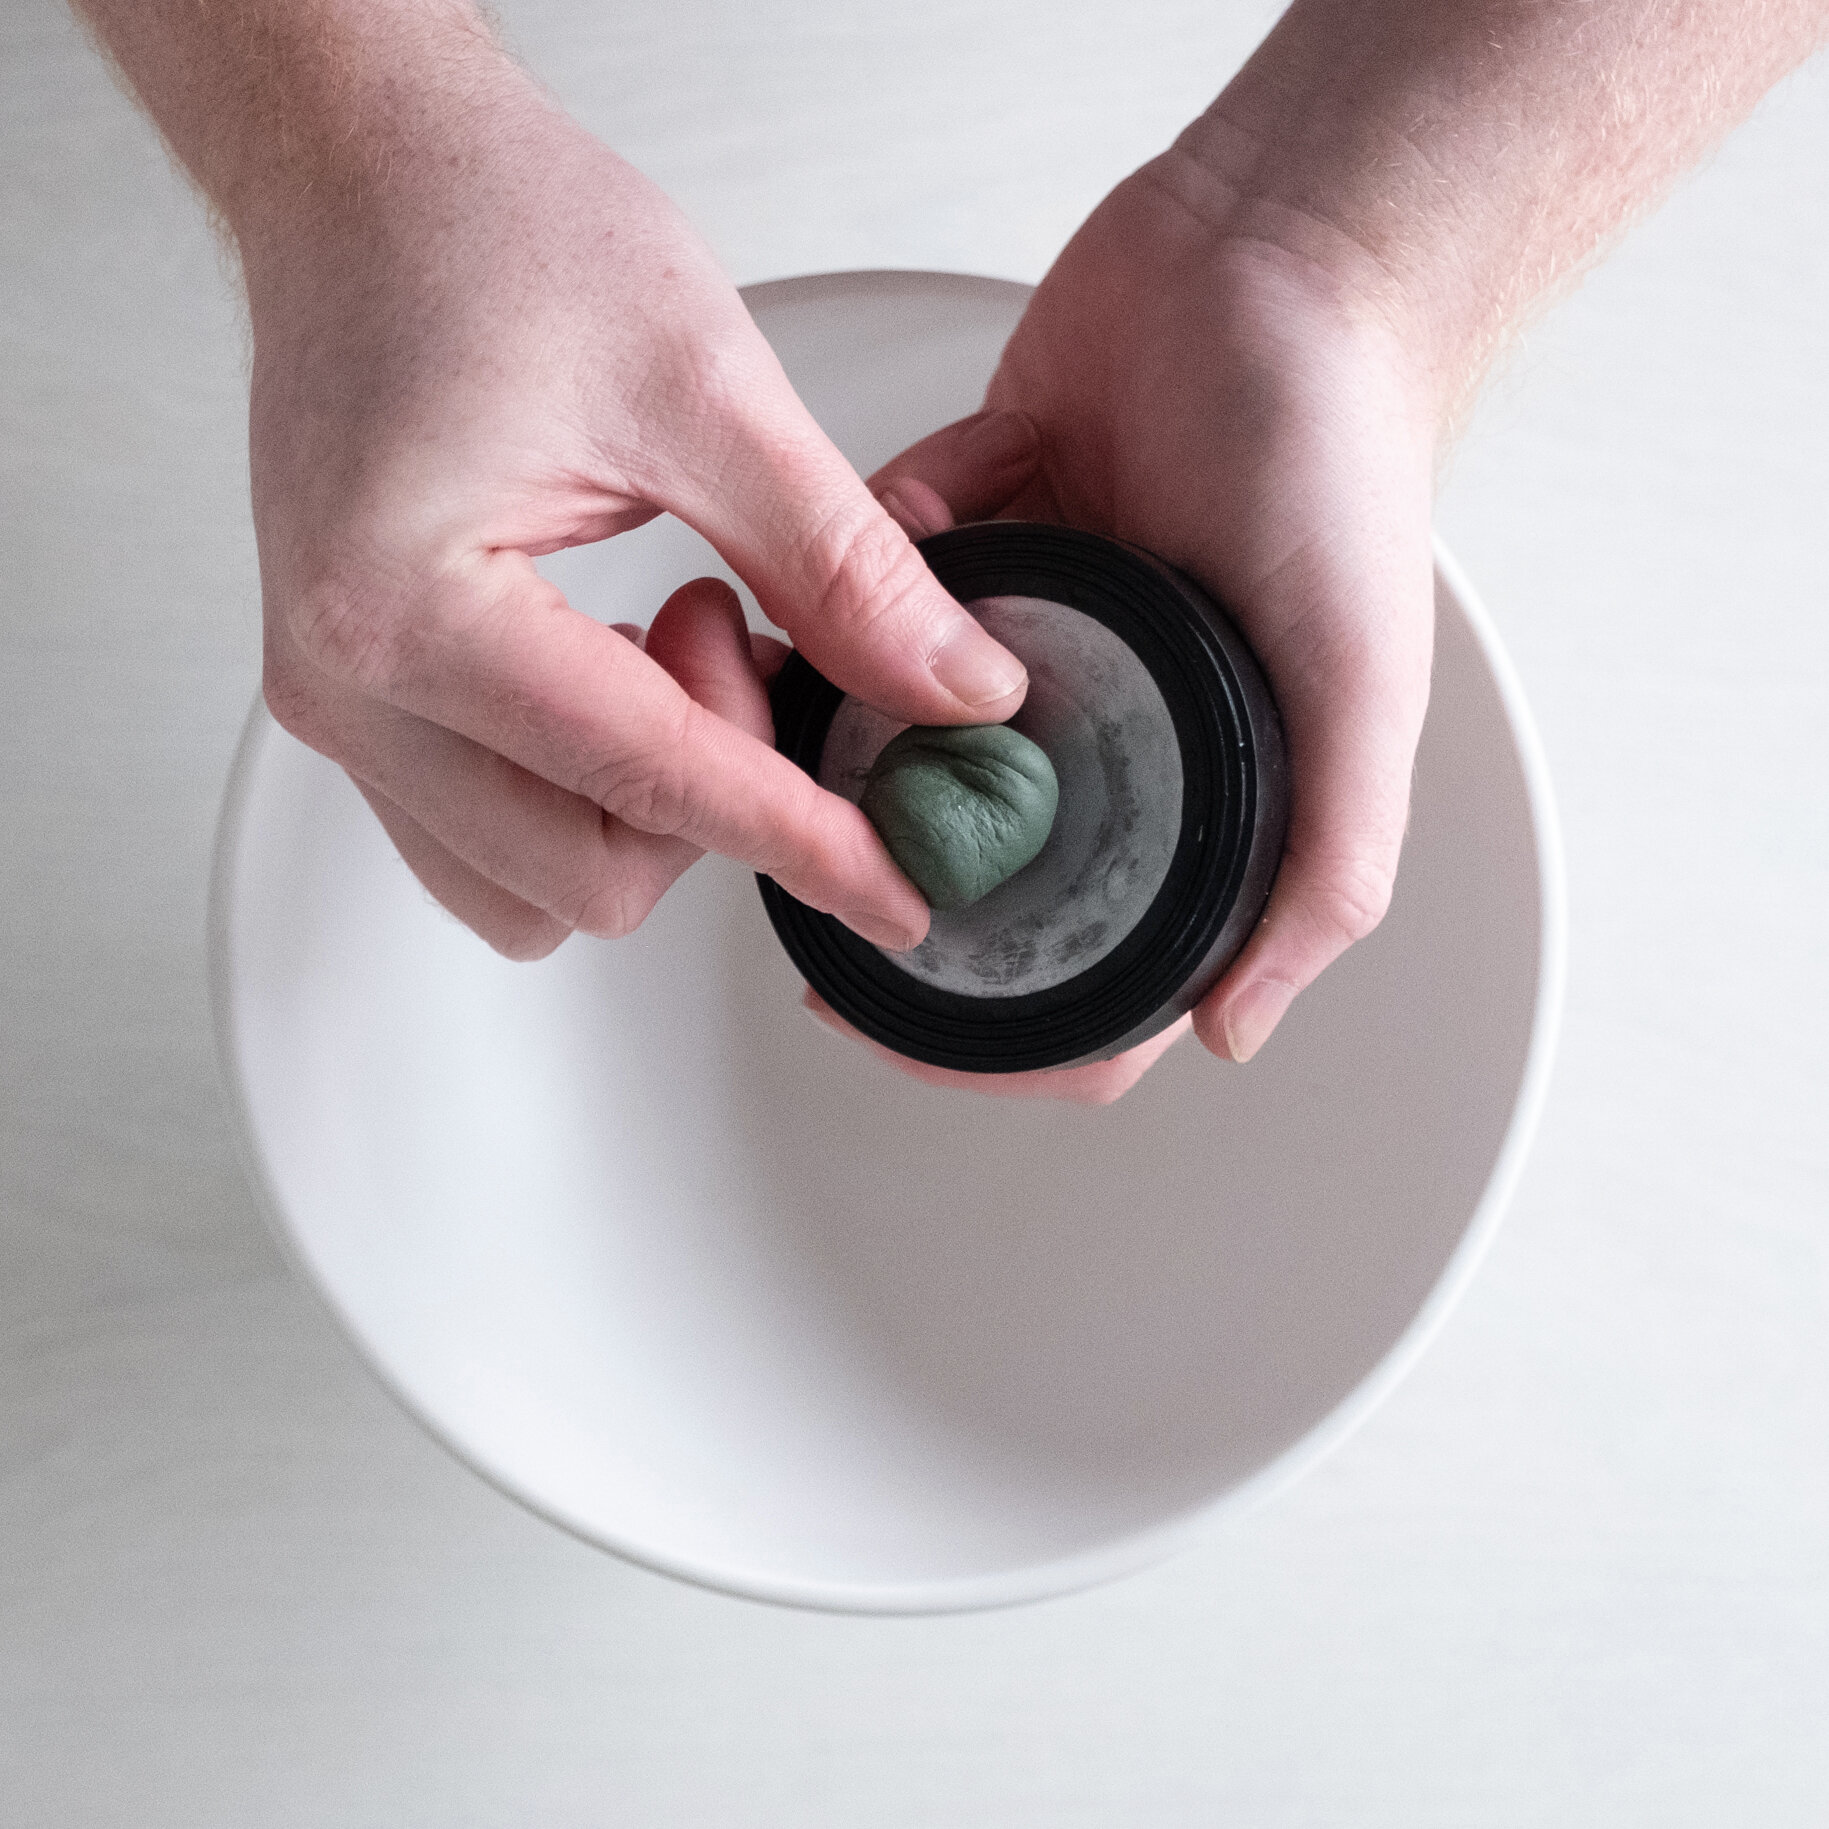
3 - Place the pin holder directly into the centre of the bowl, and press down firmly, securing the pin holder into the centre of the bowl. I’m using a pin holder in this design as I want the security it provides to really hold my blooms in a certain form. If you desire a looser, less controlled form, then a pin holder may not be necessary, and you can skip the previous pages, and start this project on the next page.

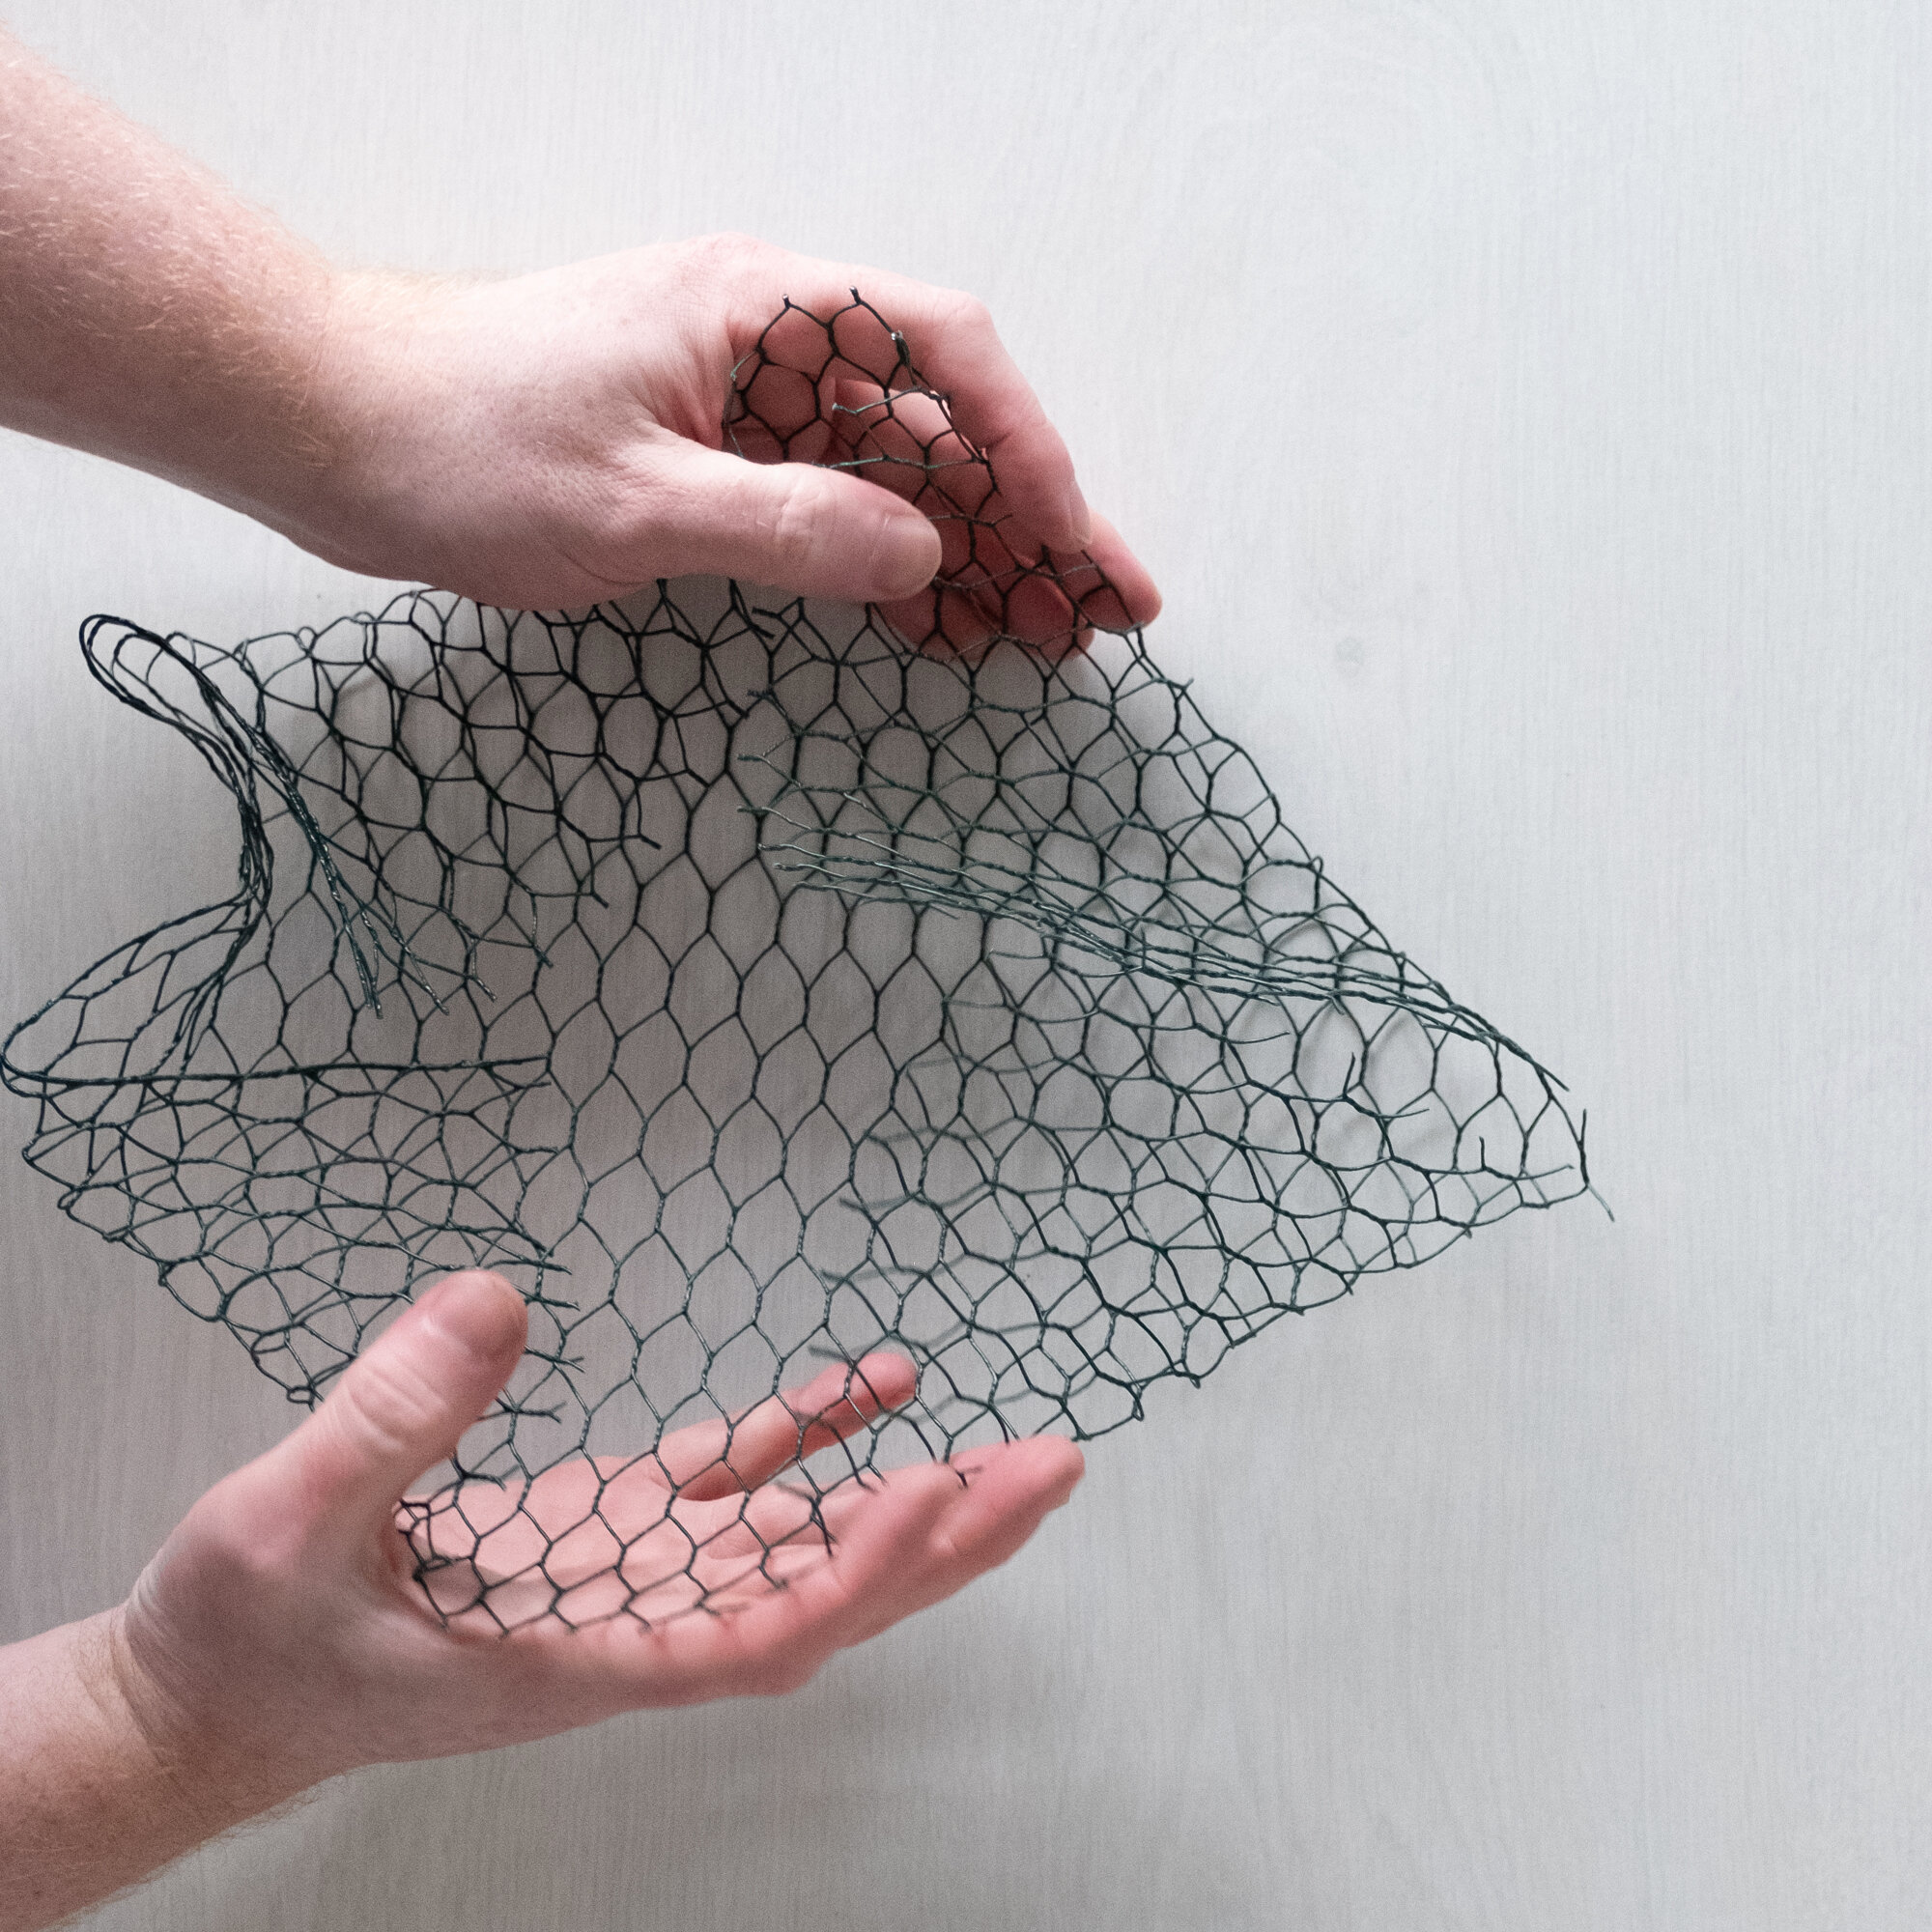
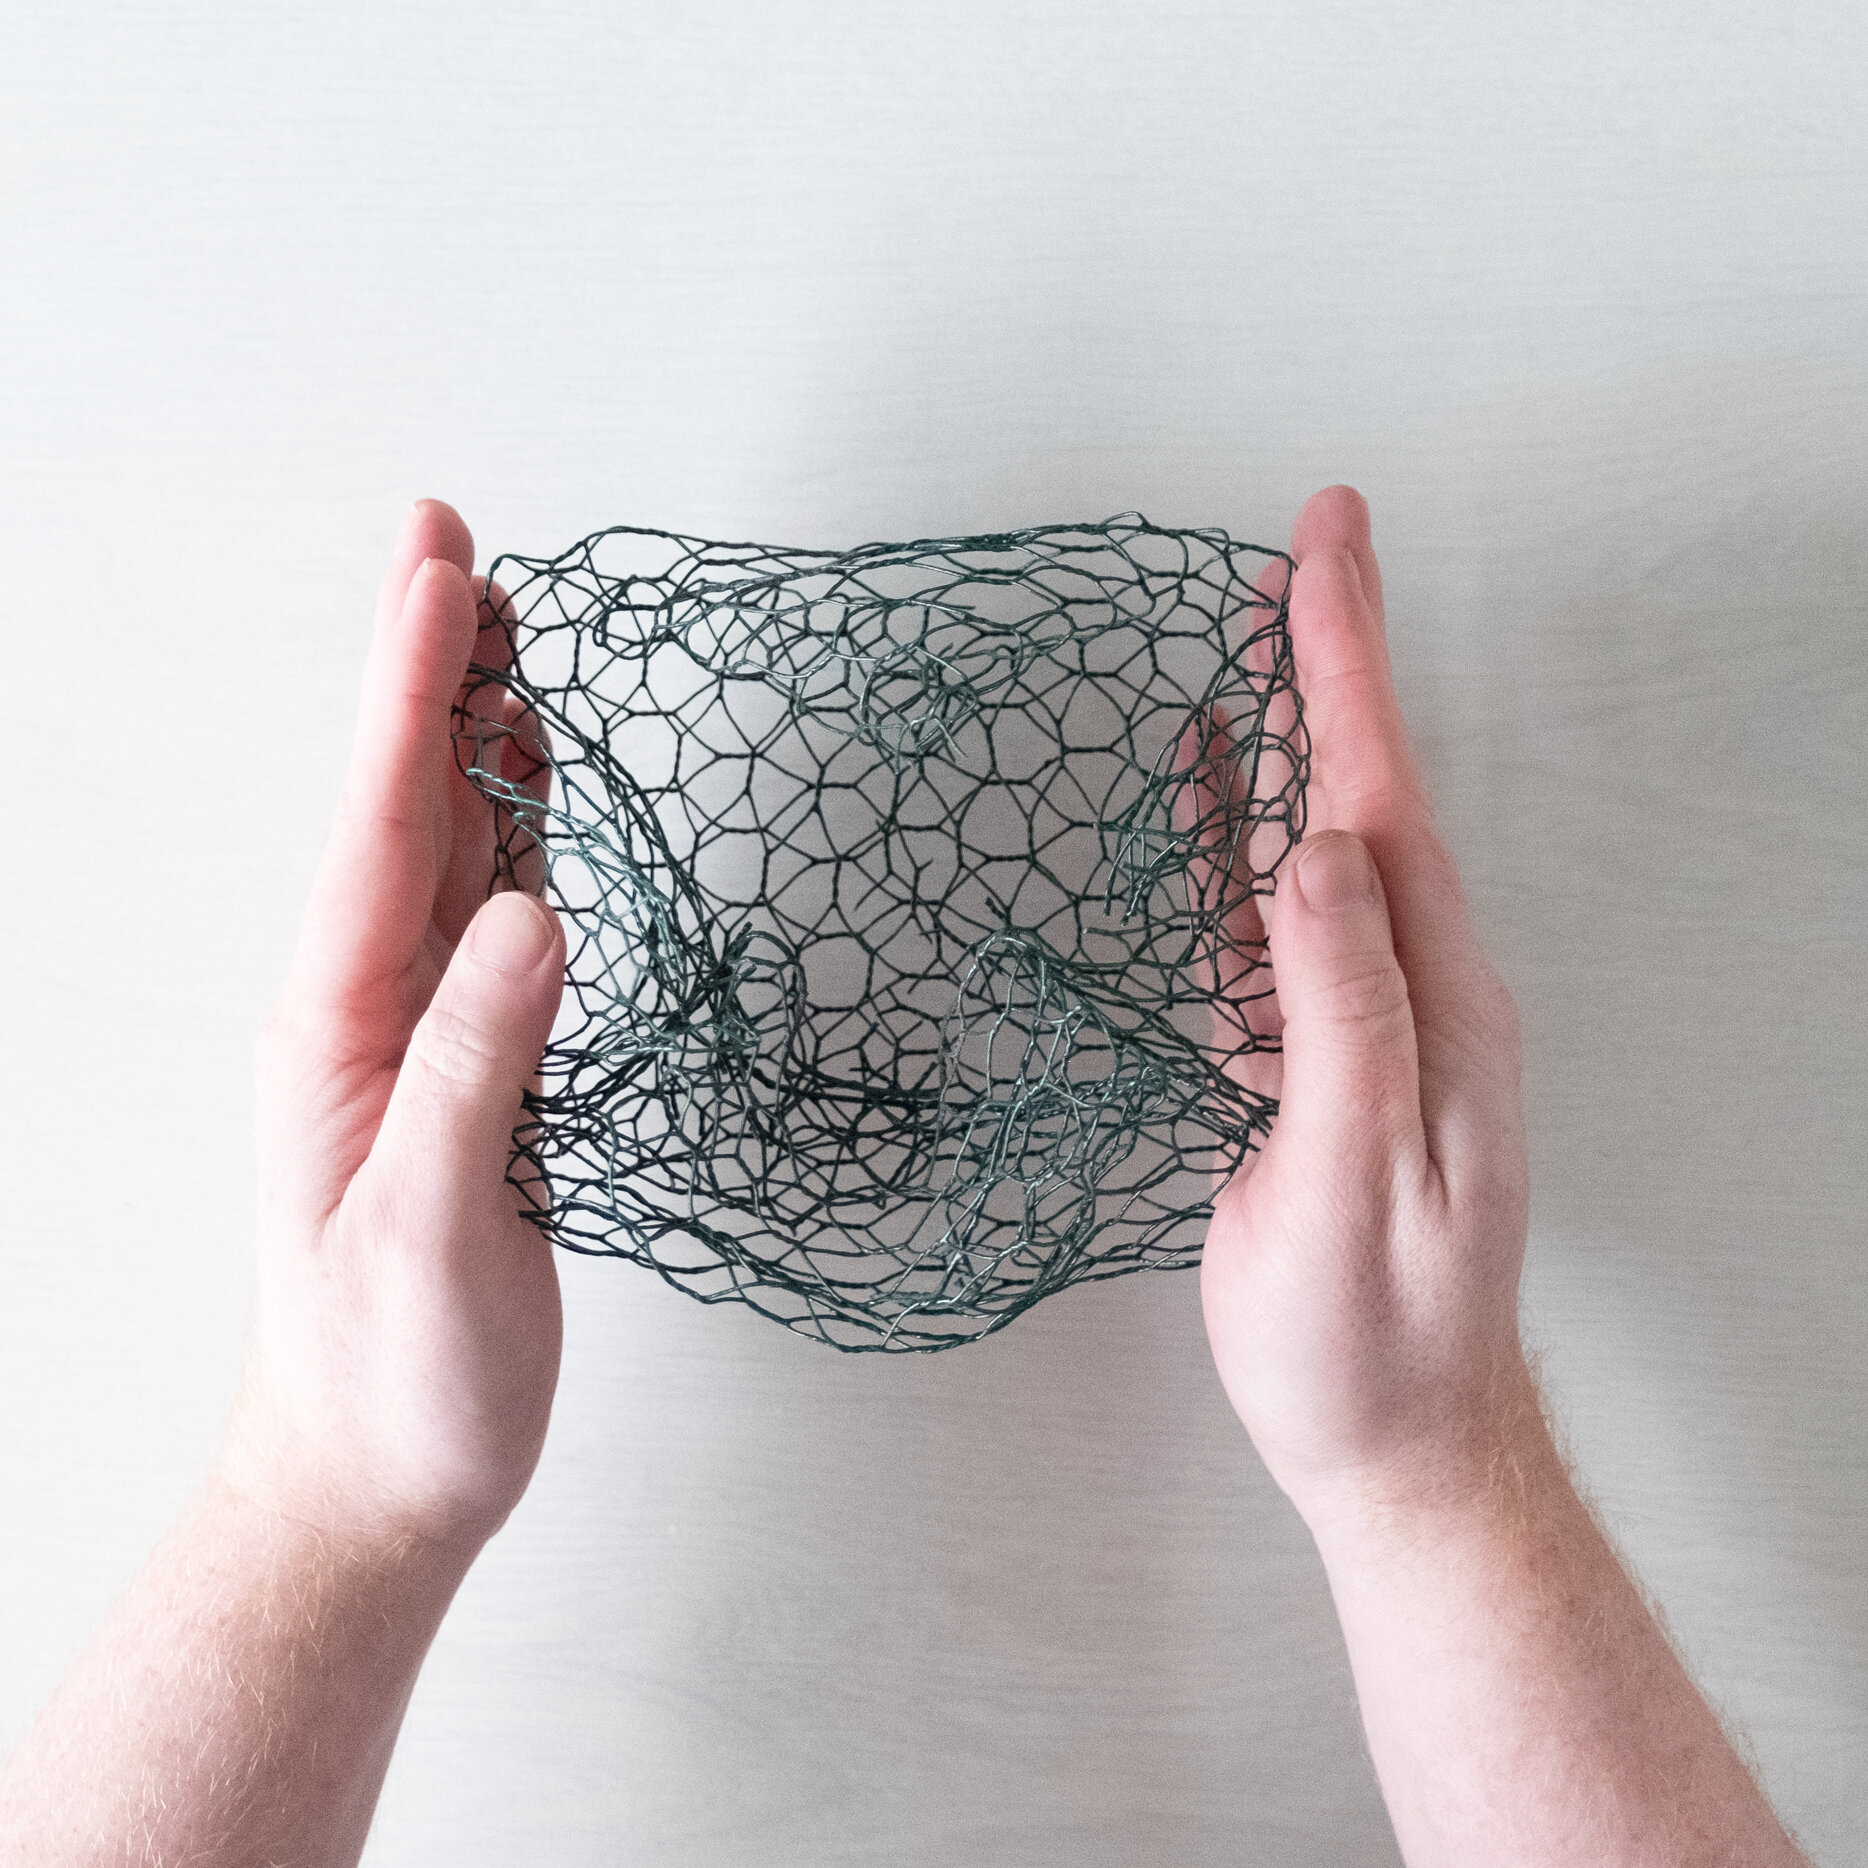
4. Take a sheet of plastic coated chicken wire, and trim to a size approximately twice the size of the the diameter of your container. Begin by folding the corners of your chicken wire, and gently start to shape the chicken wire up into itself, forming a small nest to fit within your vessel, and being sure to create multiple layers of wire within the nest shape.
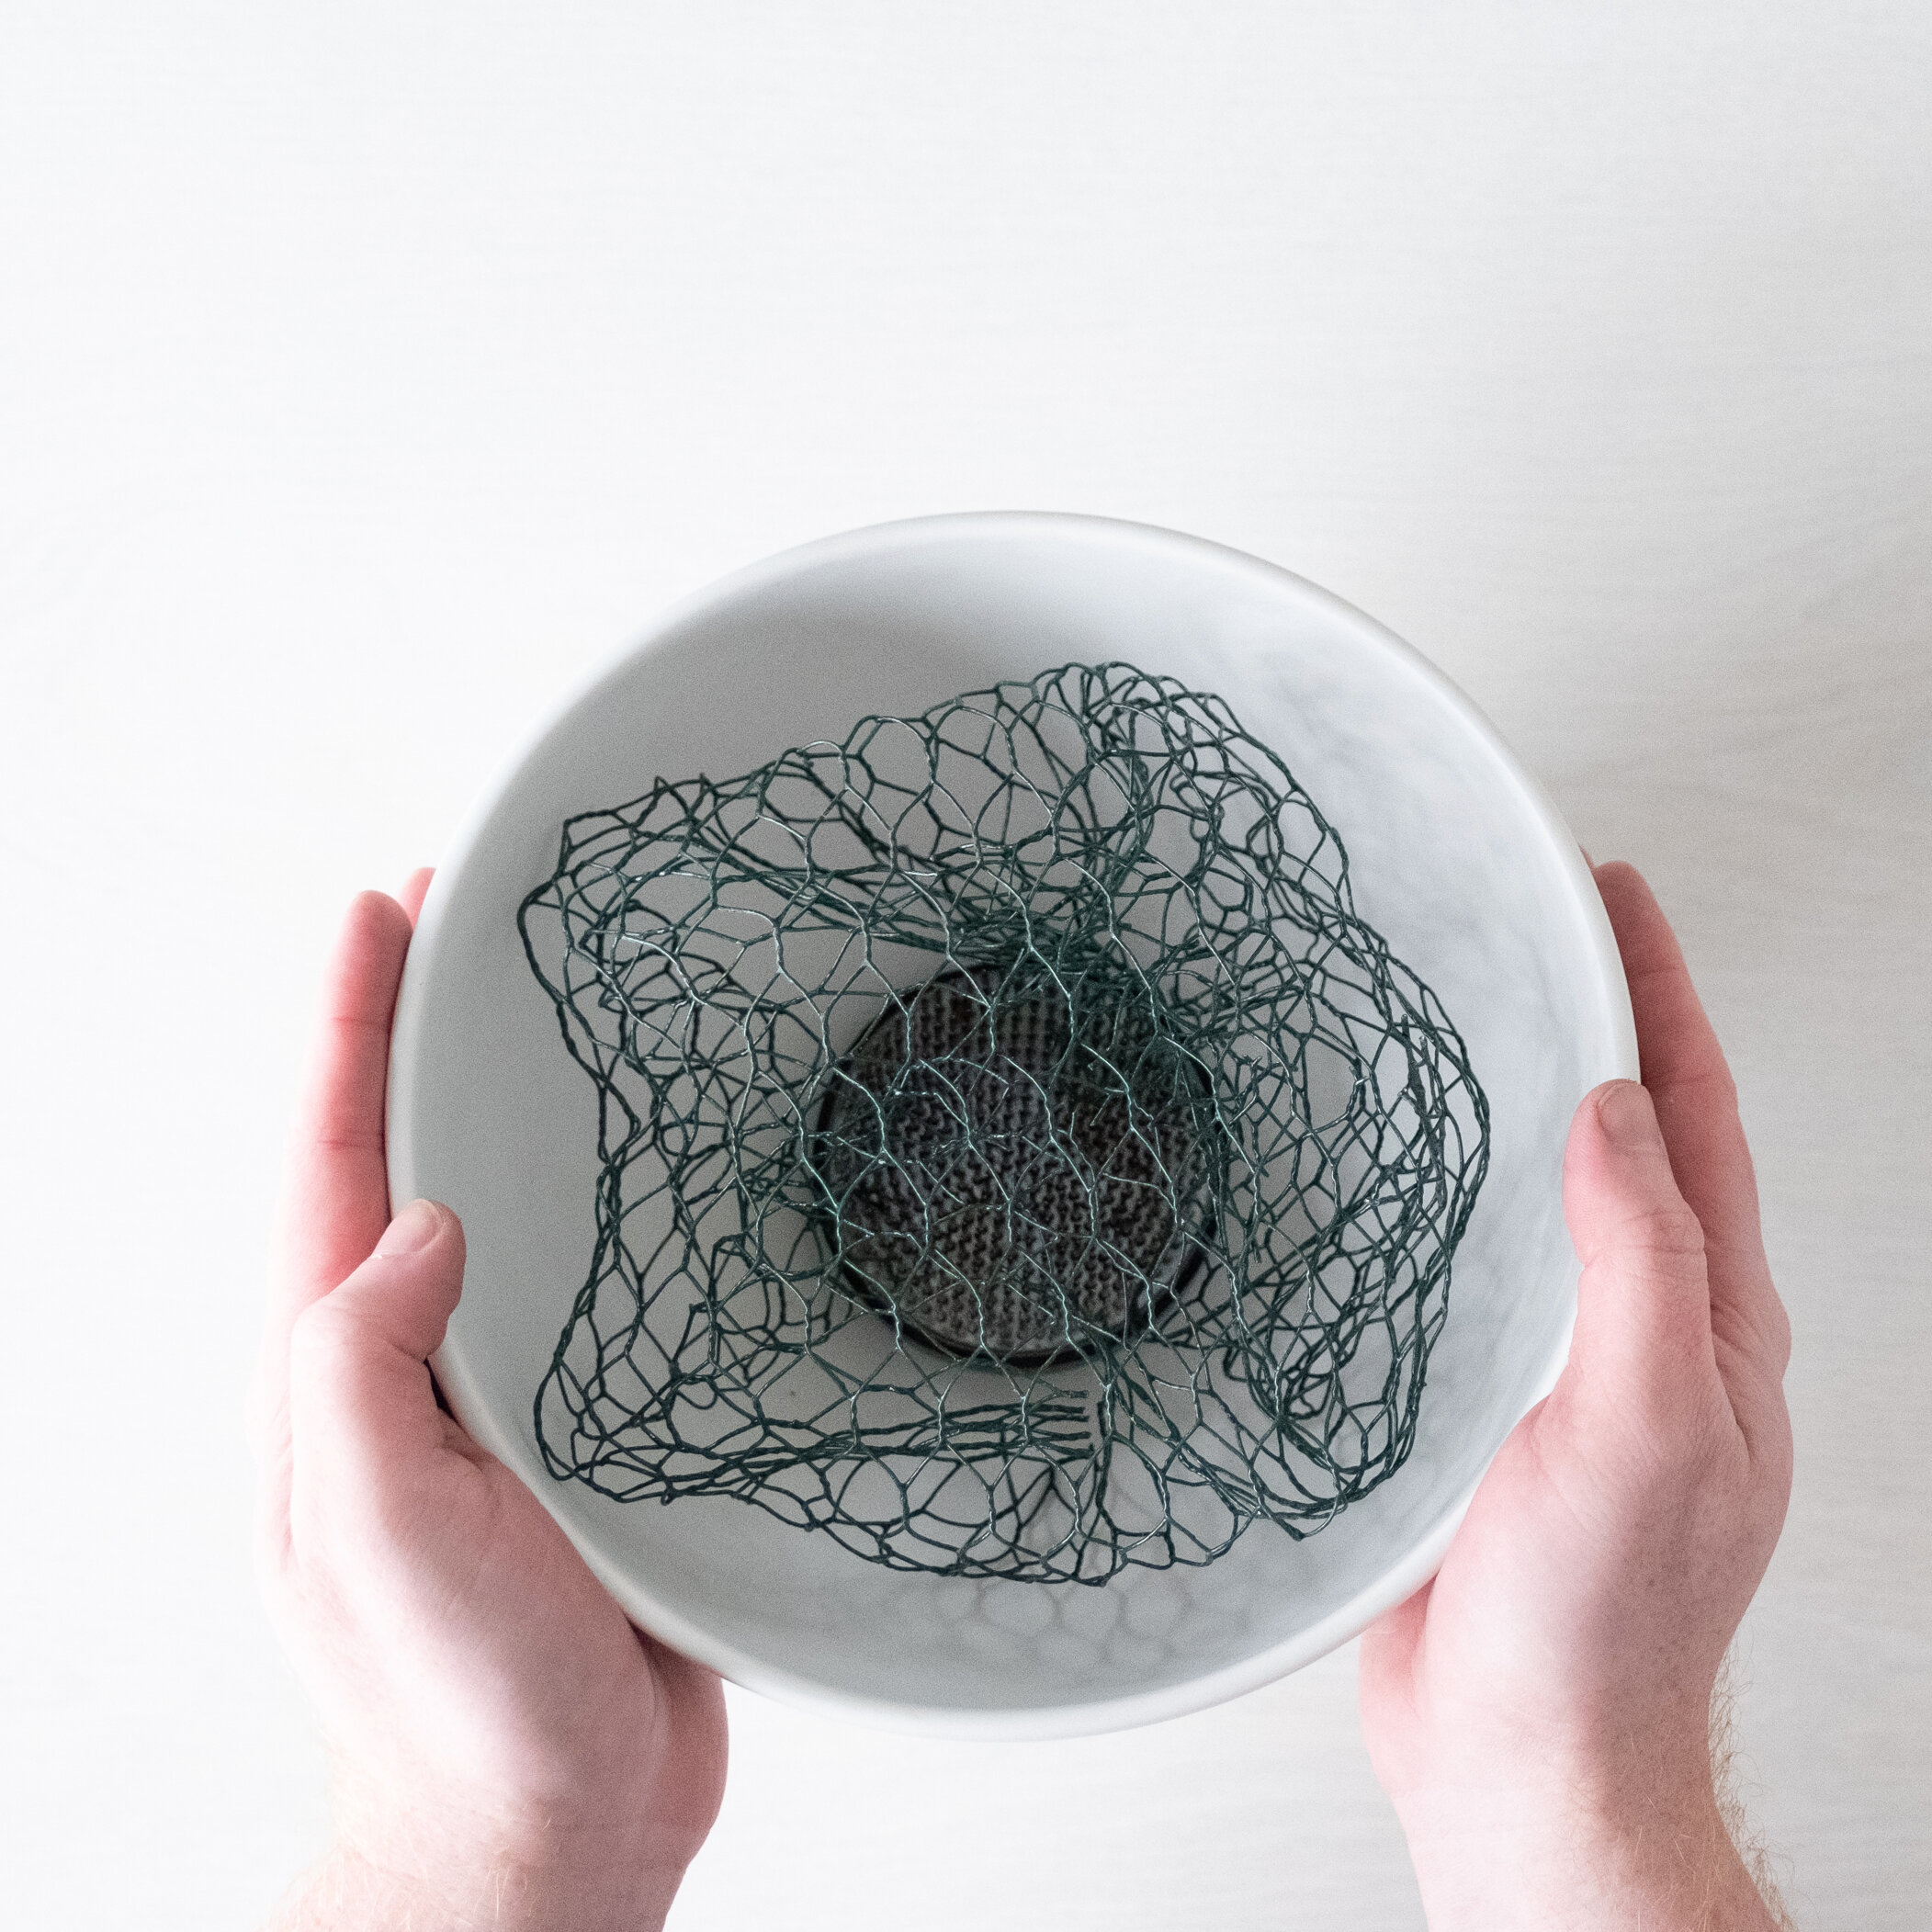
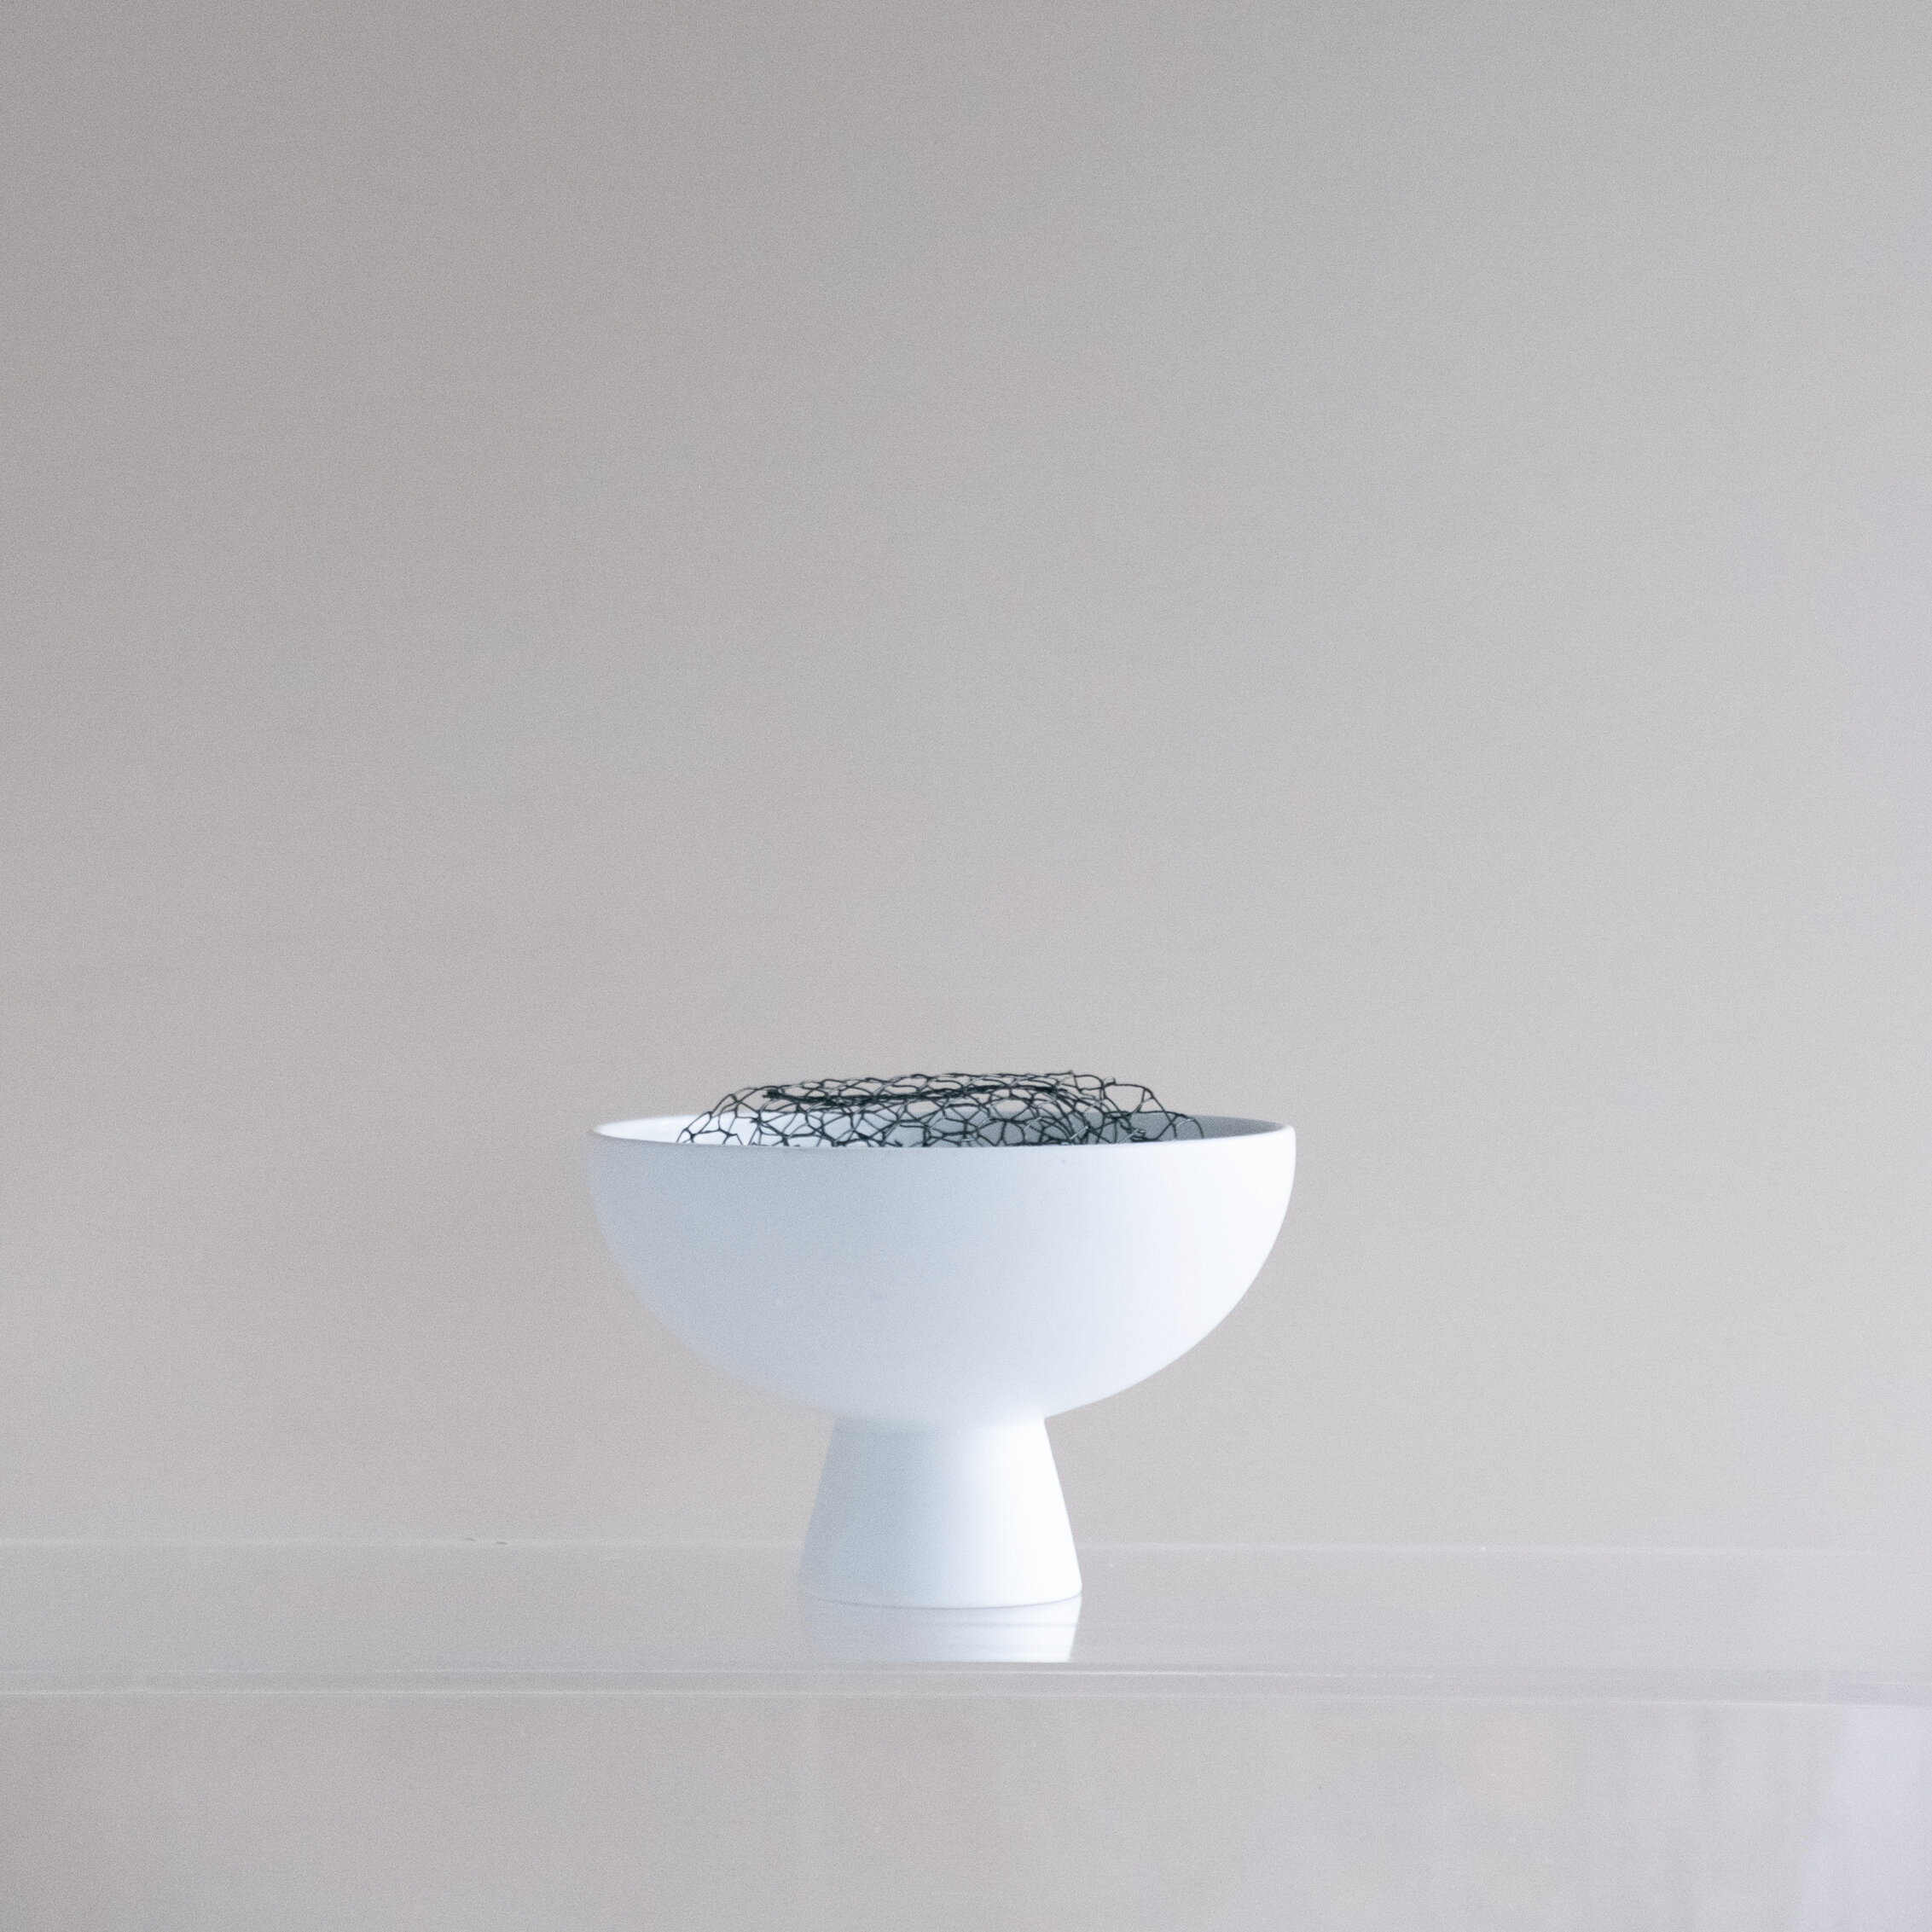
5. Once formed, place the chicken wire nest into the bowl, so it sits level or just below the rim of your vessel.
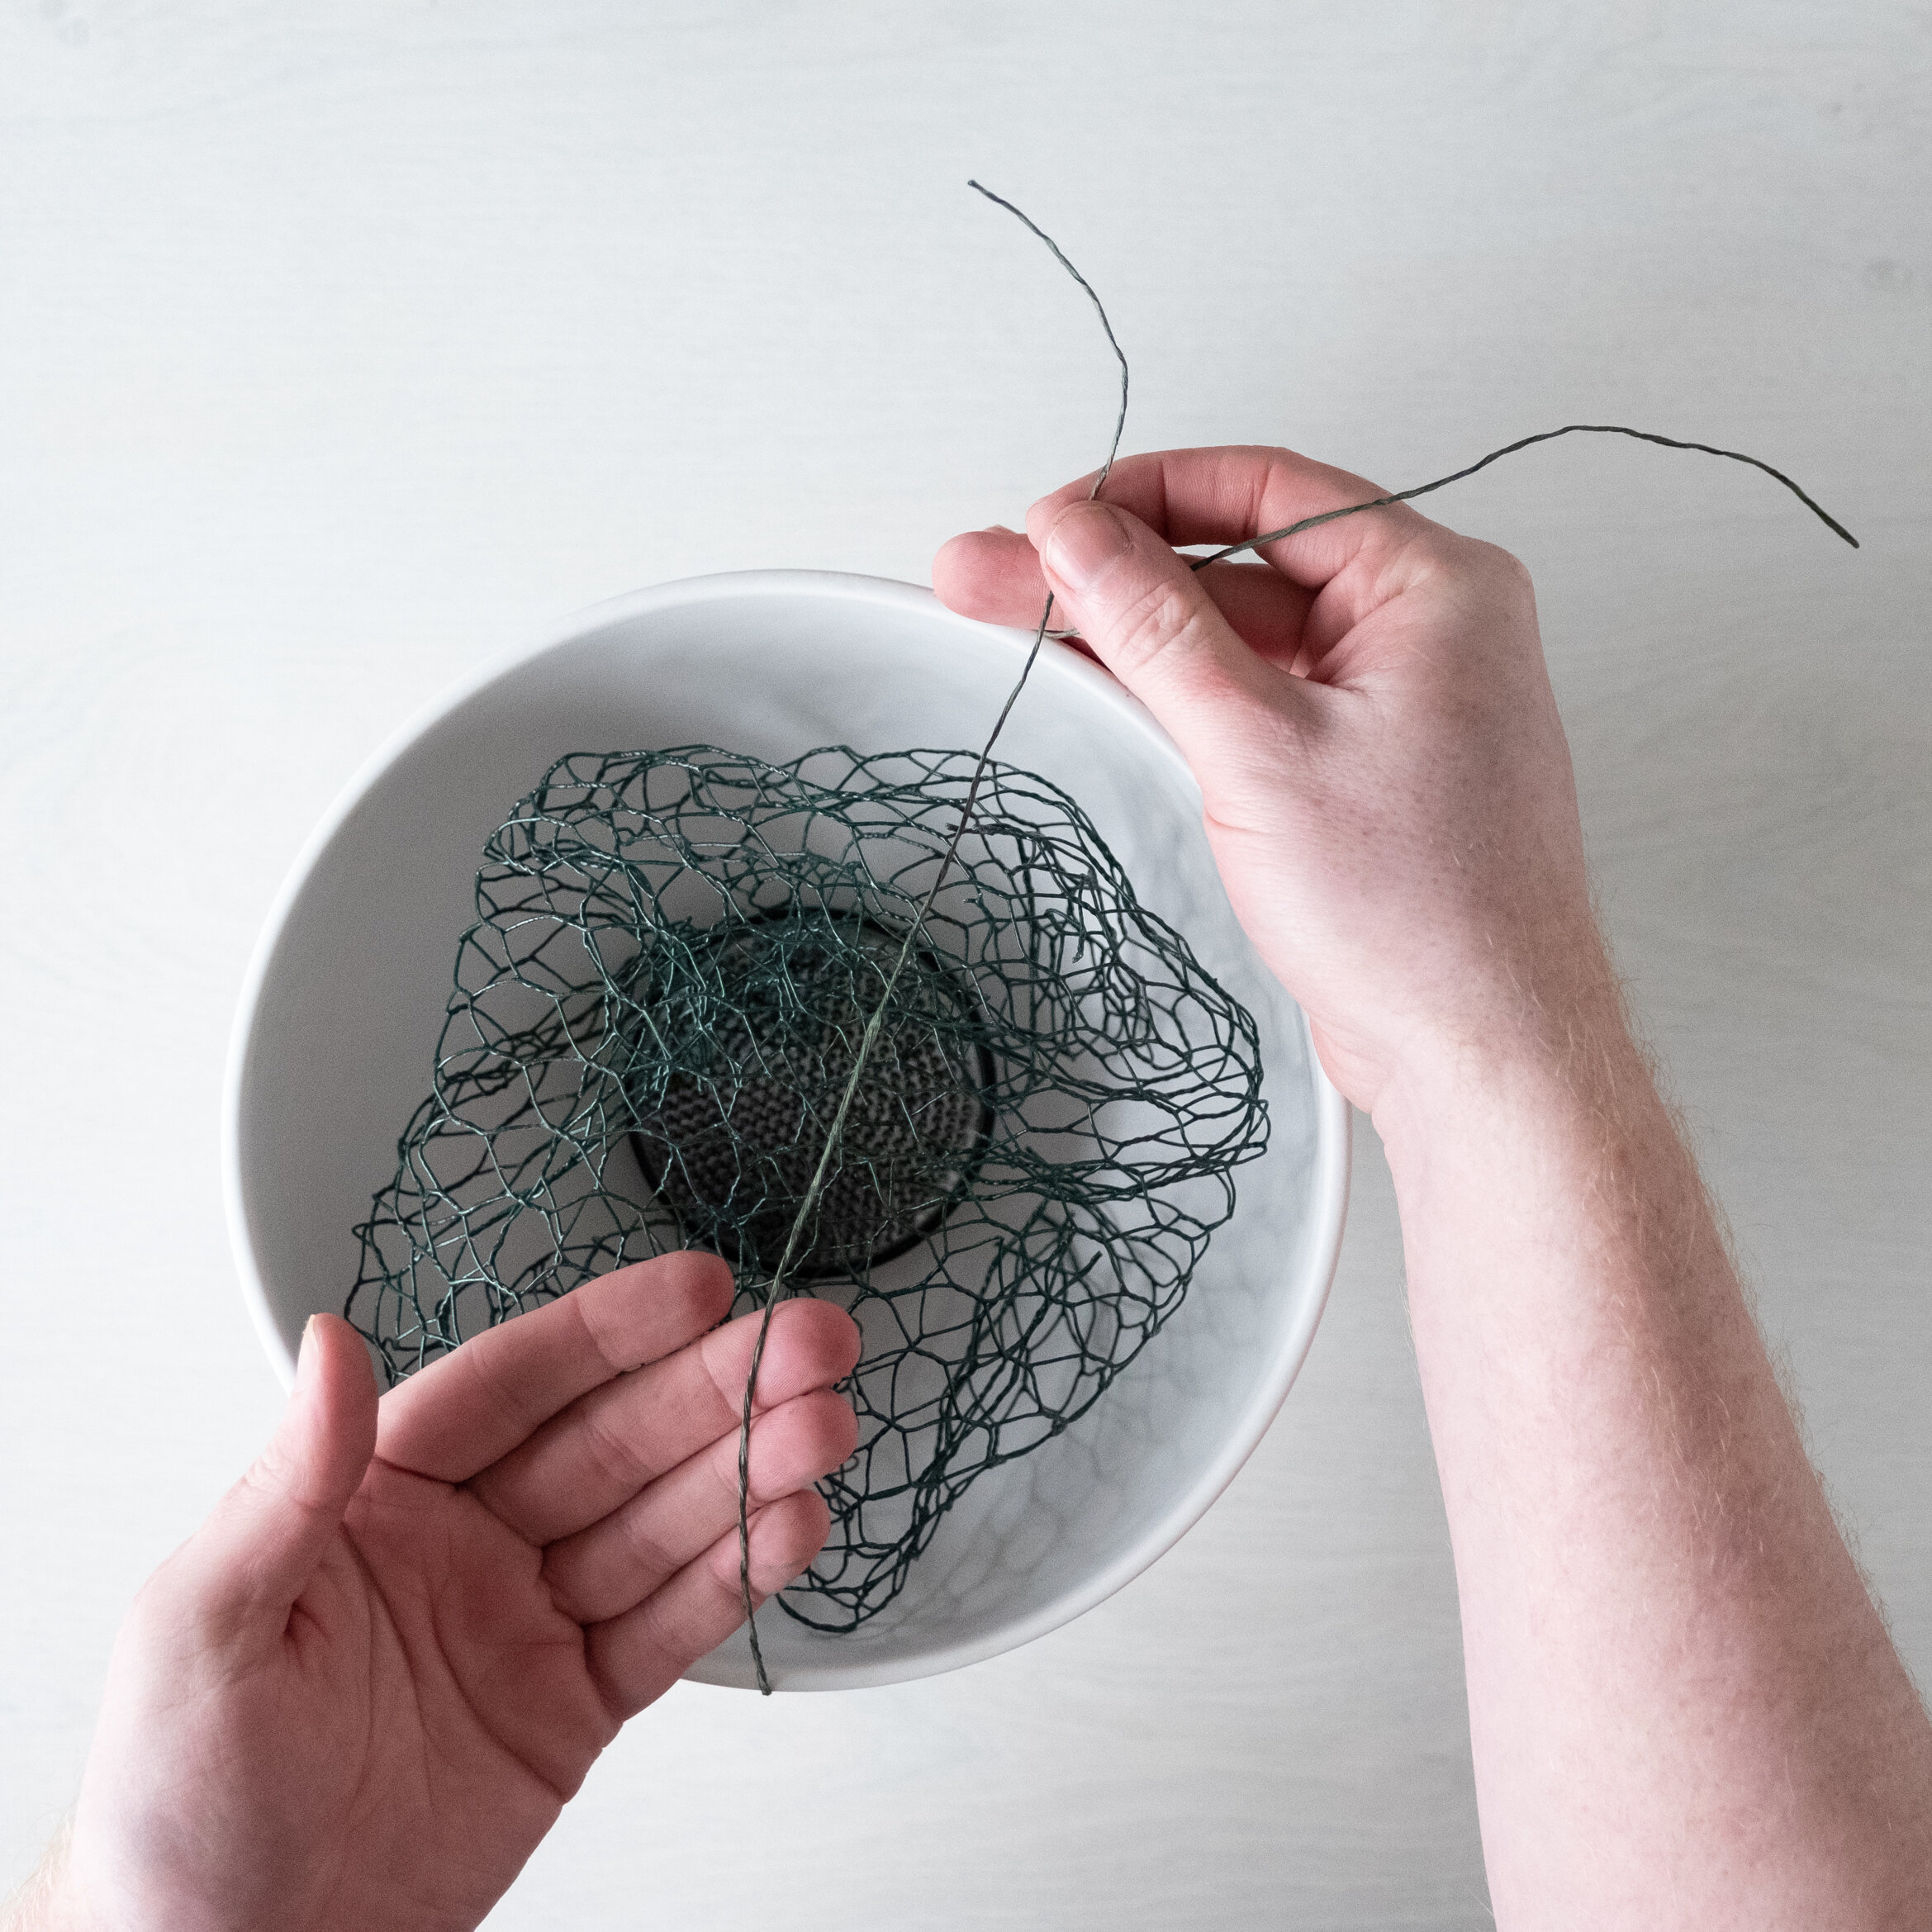
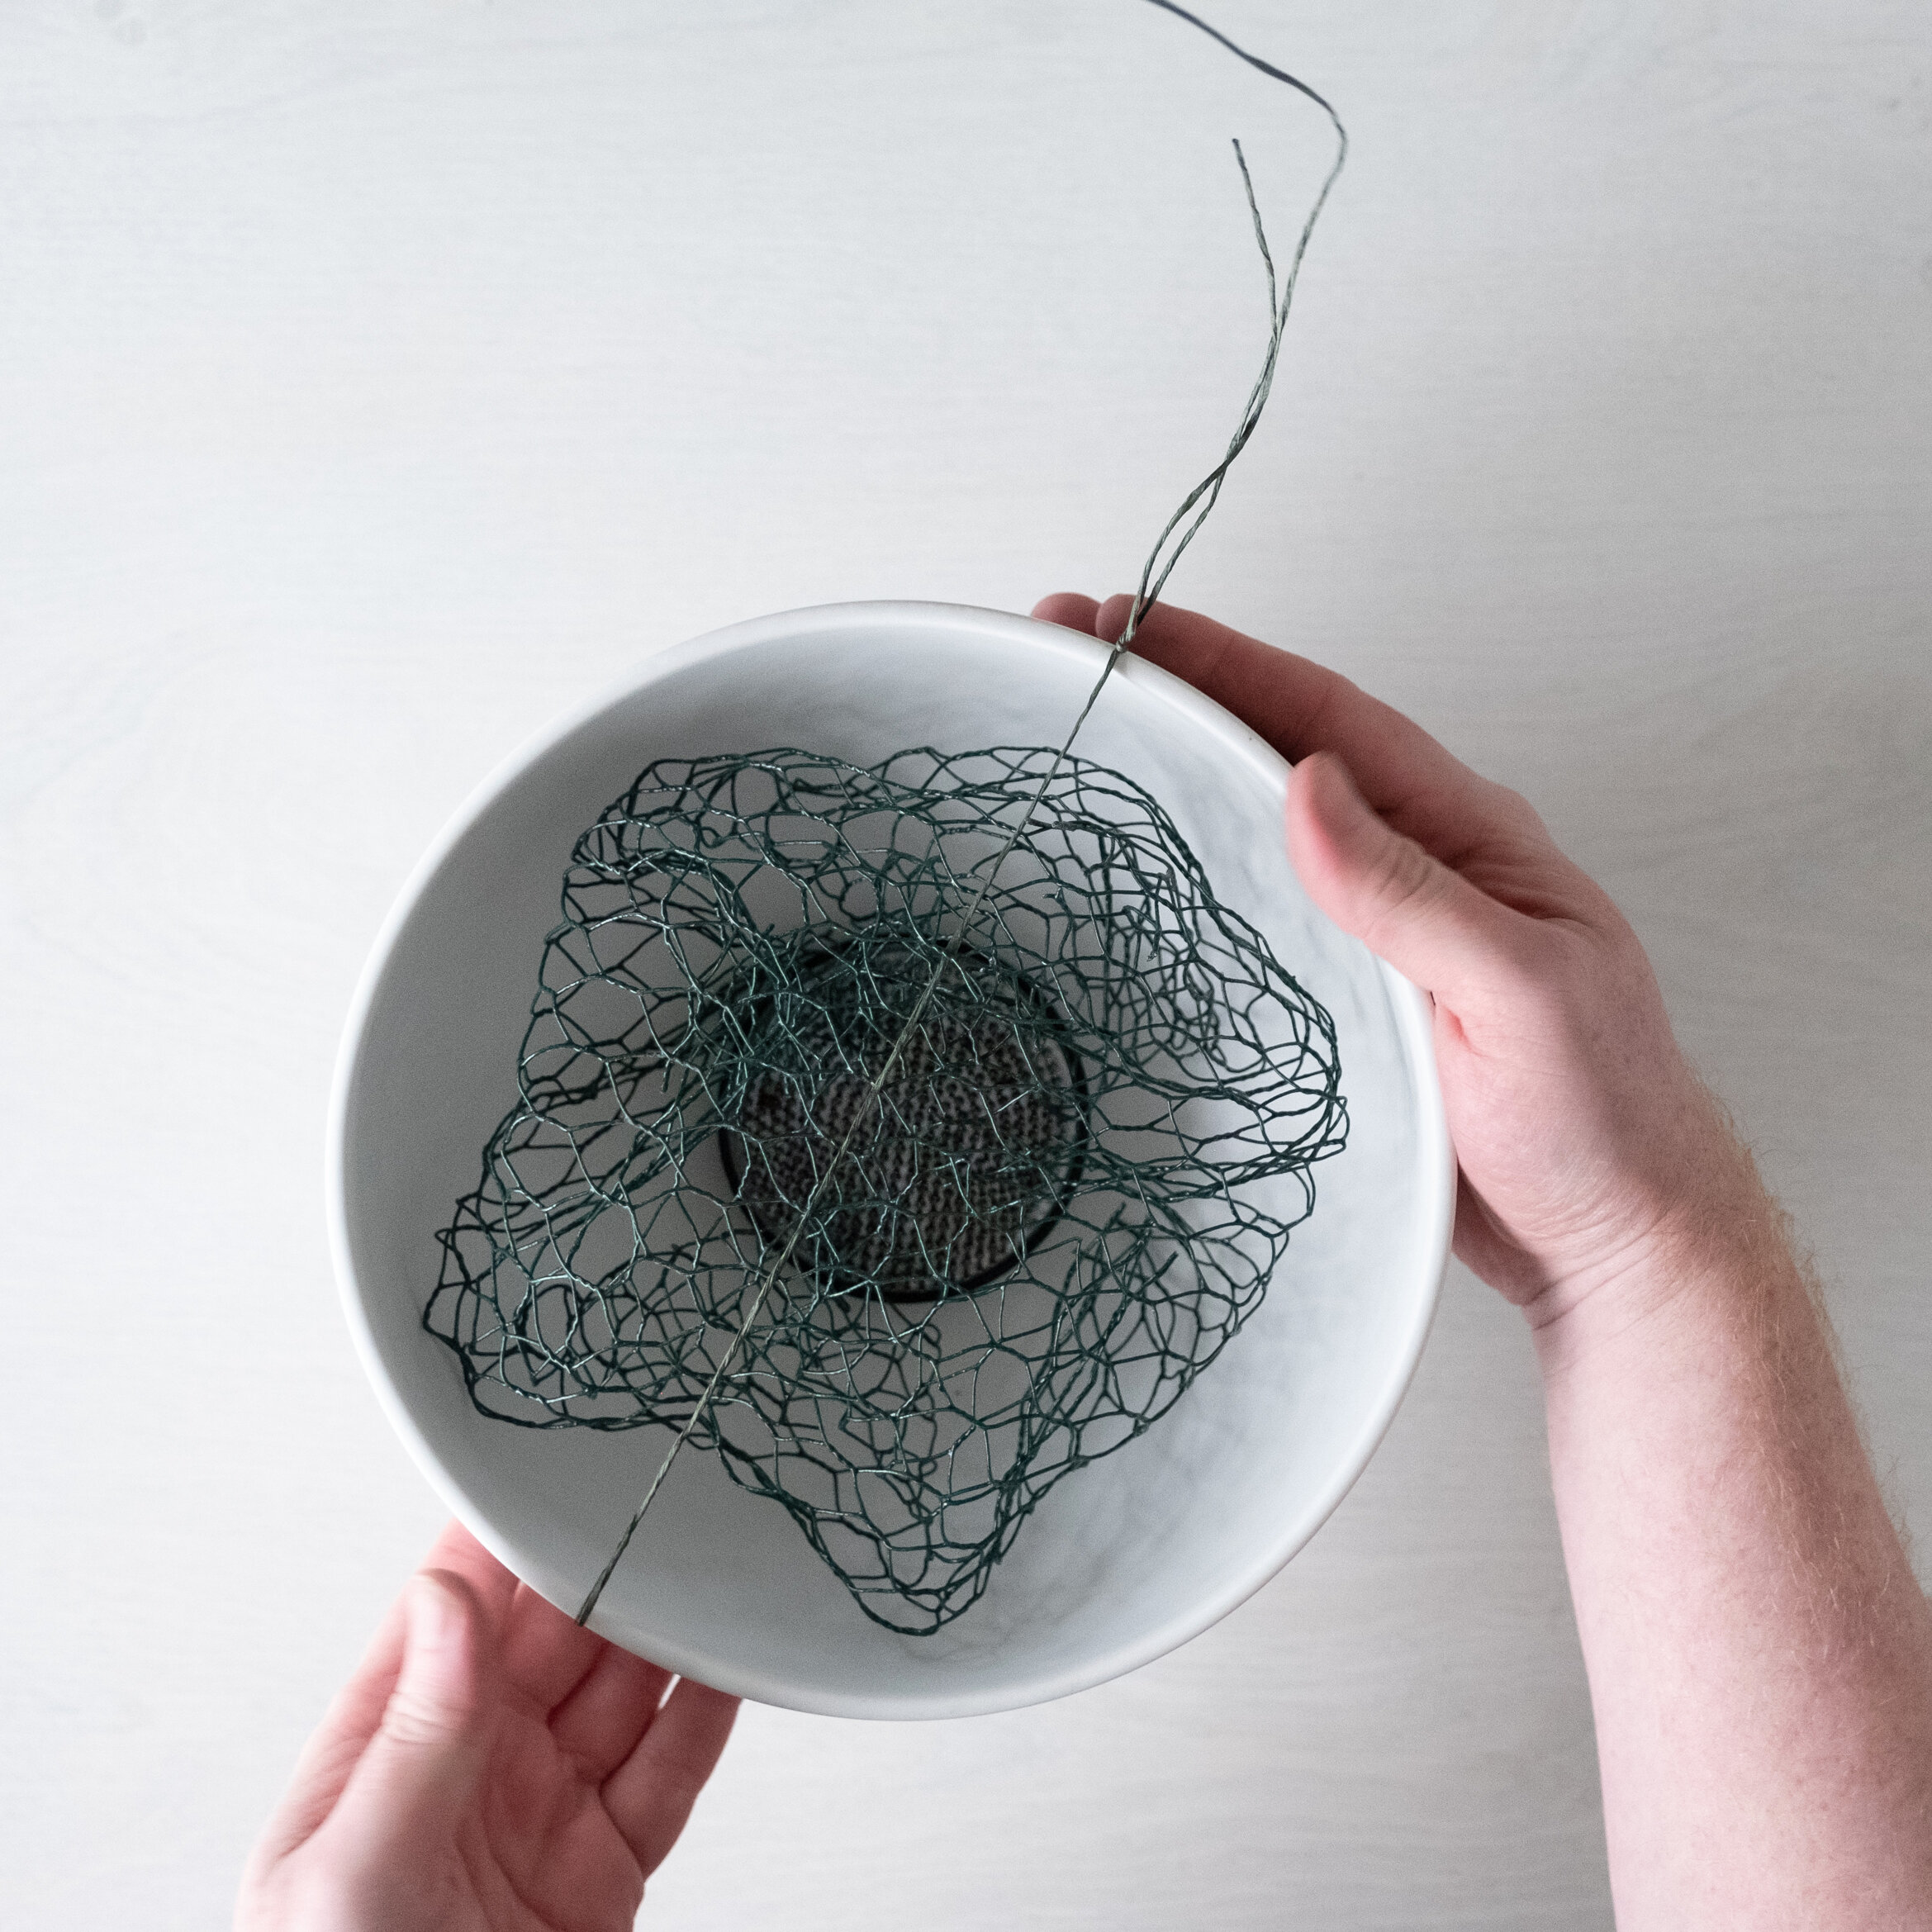
6. To secure the chicken wire within your container, thread the length of paper covered wire through the chicken wire, and loop it around, and underneath your vessel, bringing the ends back together on the rim of the vessel. Twist the ends of the wire together several times to secure.
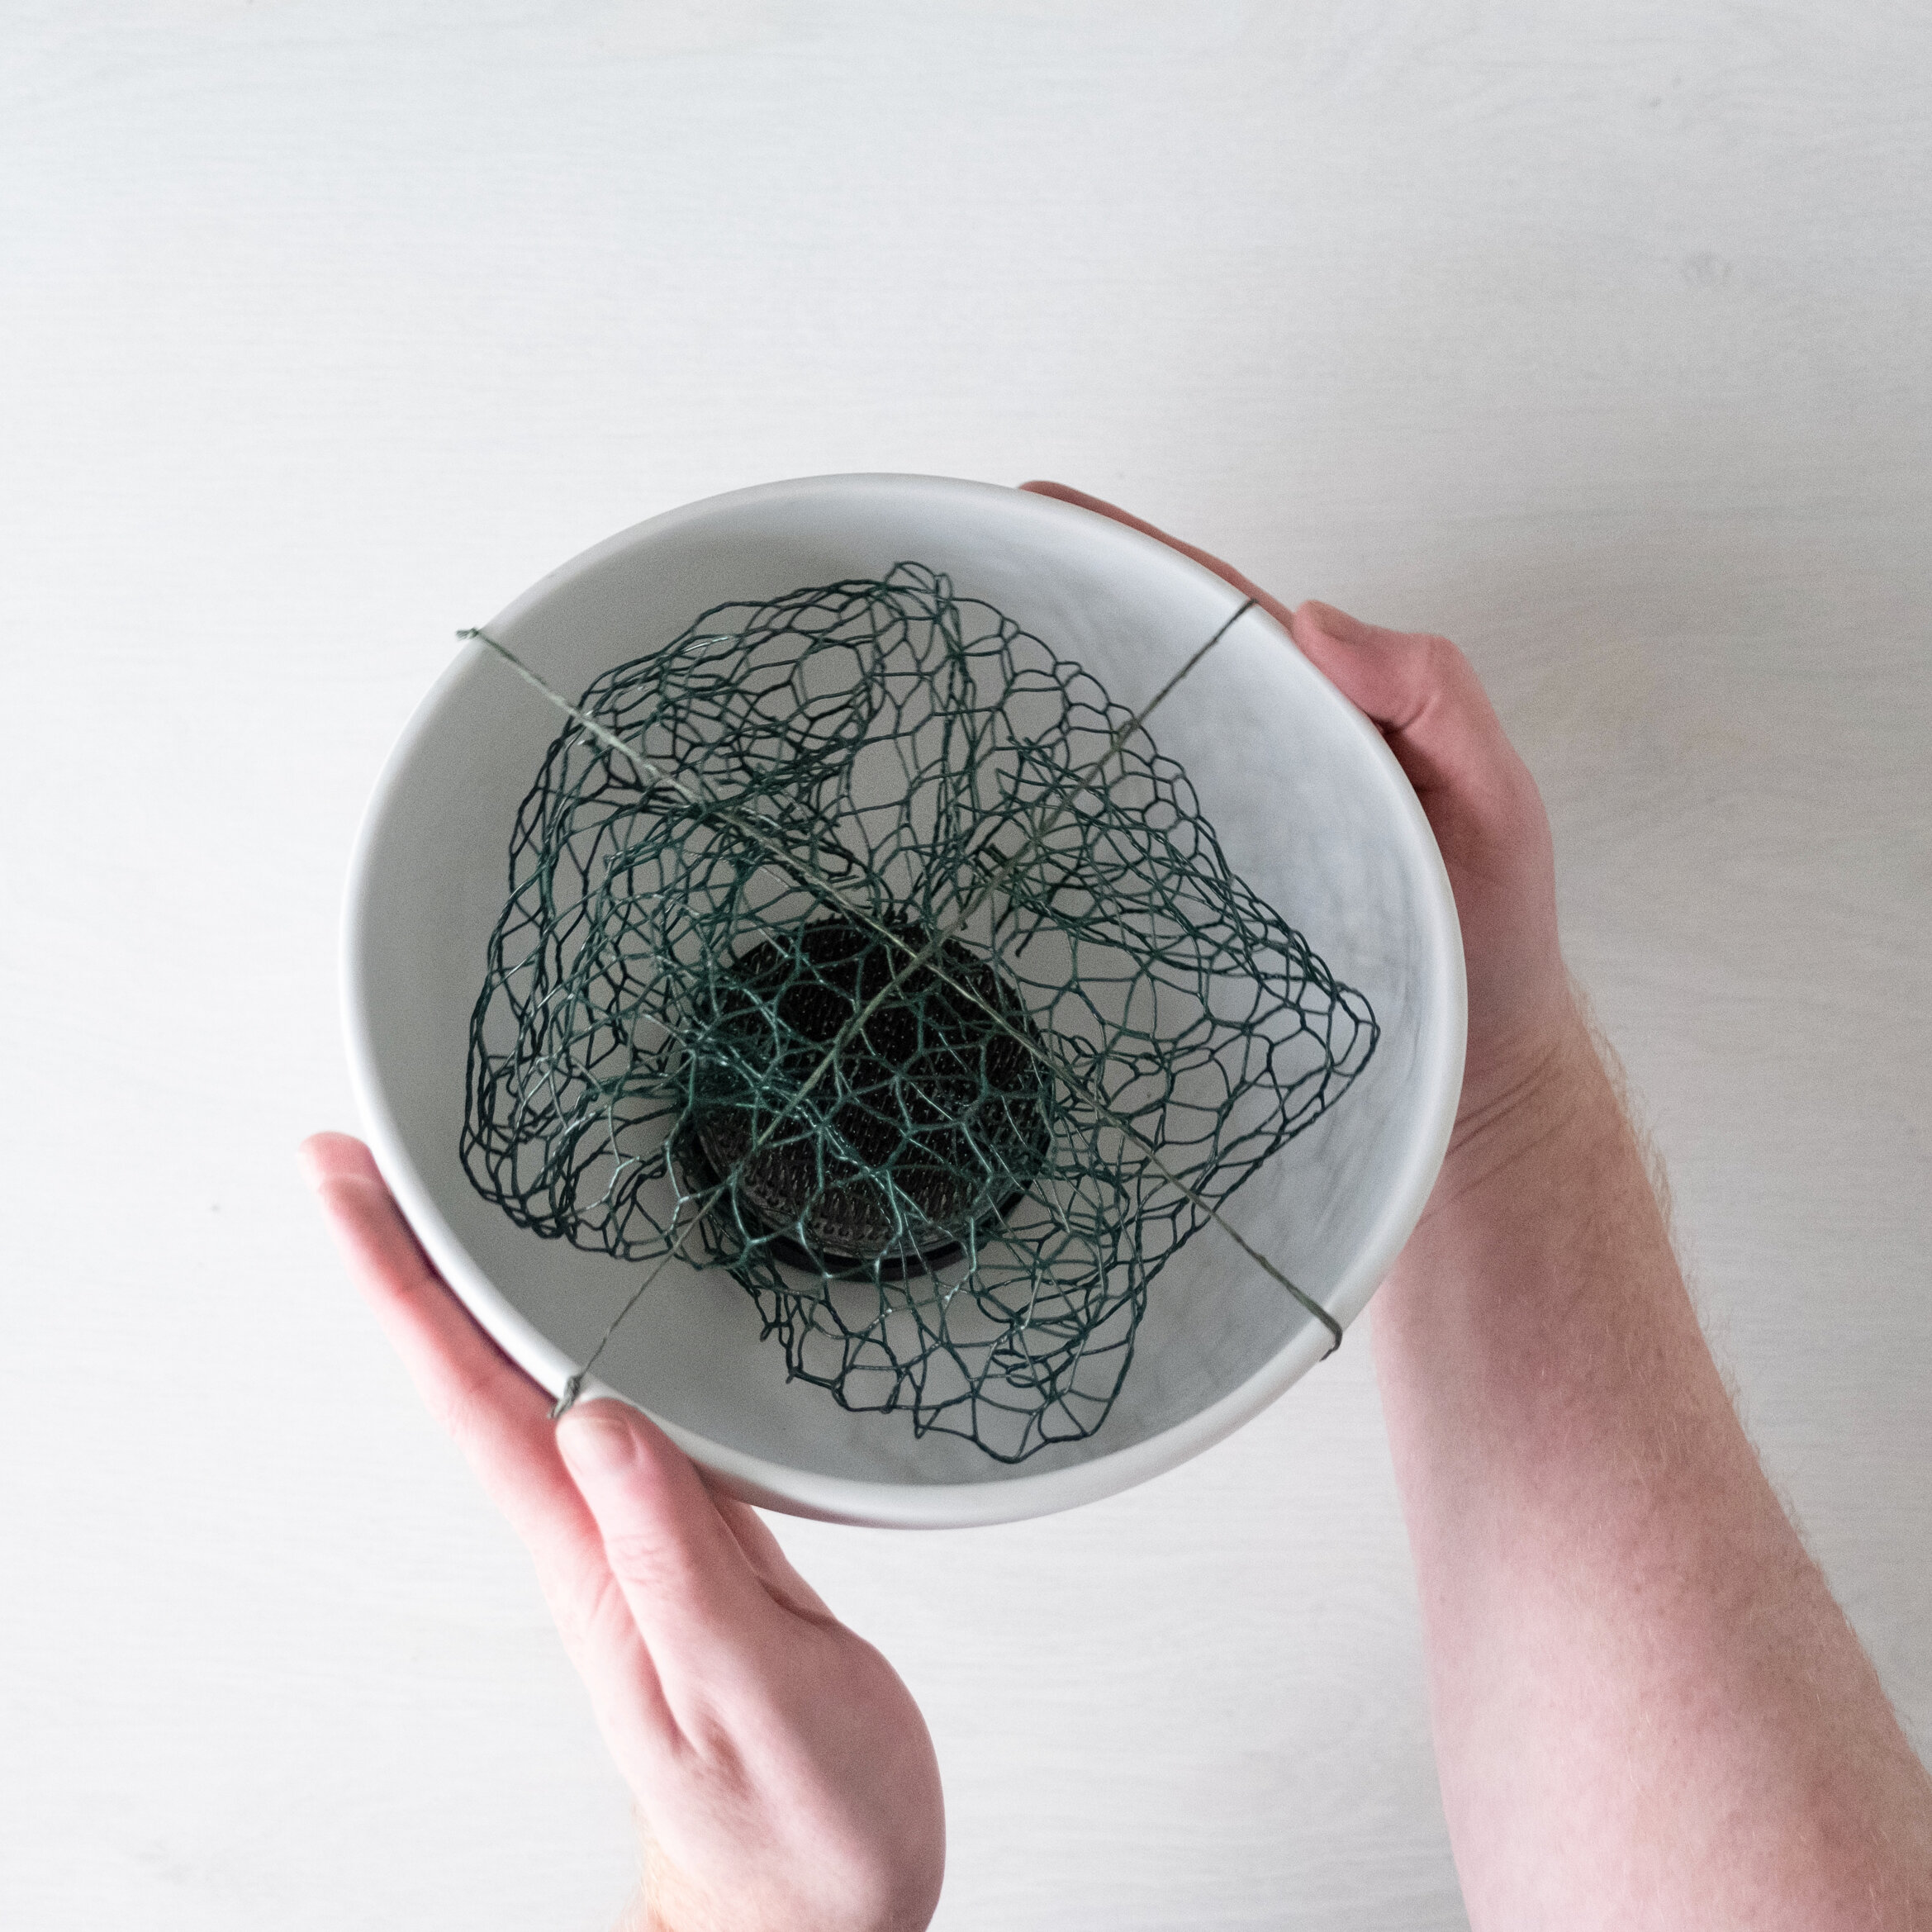
7. Repeat the process again a second time, securing the wire perpendicular to the first, intersecting in the centre of the vase. The chicken wire will be held snugly in place by the two pieces of paper covered wire, providing you with a stable base into which you can arrange your flowers. Fill your vessel approximately one third full with water.
8. With our mechanics in place, start by taking the stems of Hellebore, and remove most of the leaves from the stem. I often find that the beauty of Hellebore stems can be obscured by their heavy dense foliage - removing the foliage will also help the blooms last longer. Begin arranging by placing a couple of stems into the vase, arranging them asymmetrically as shown below.
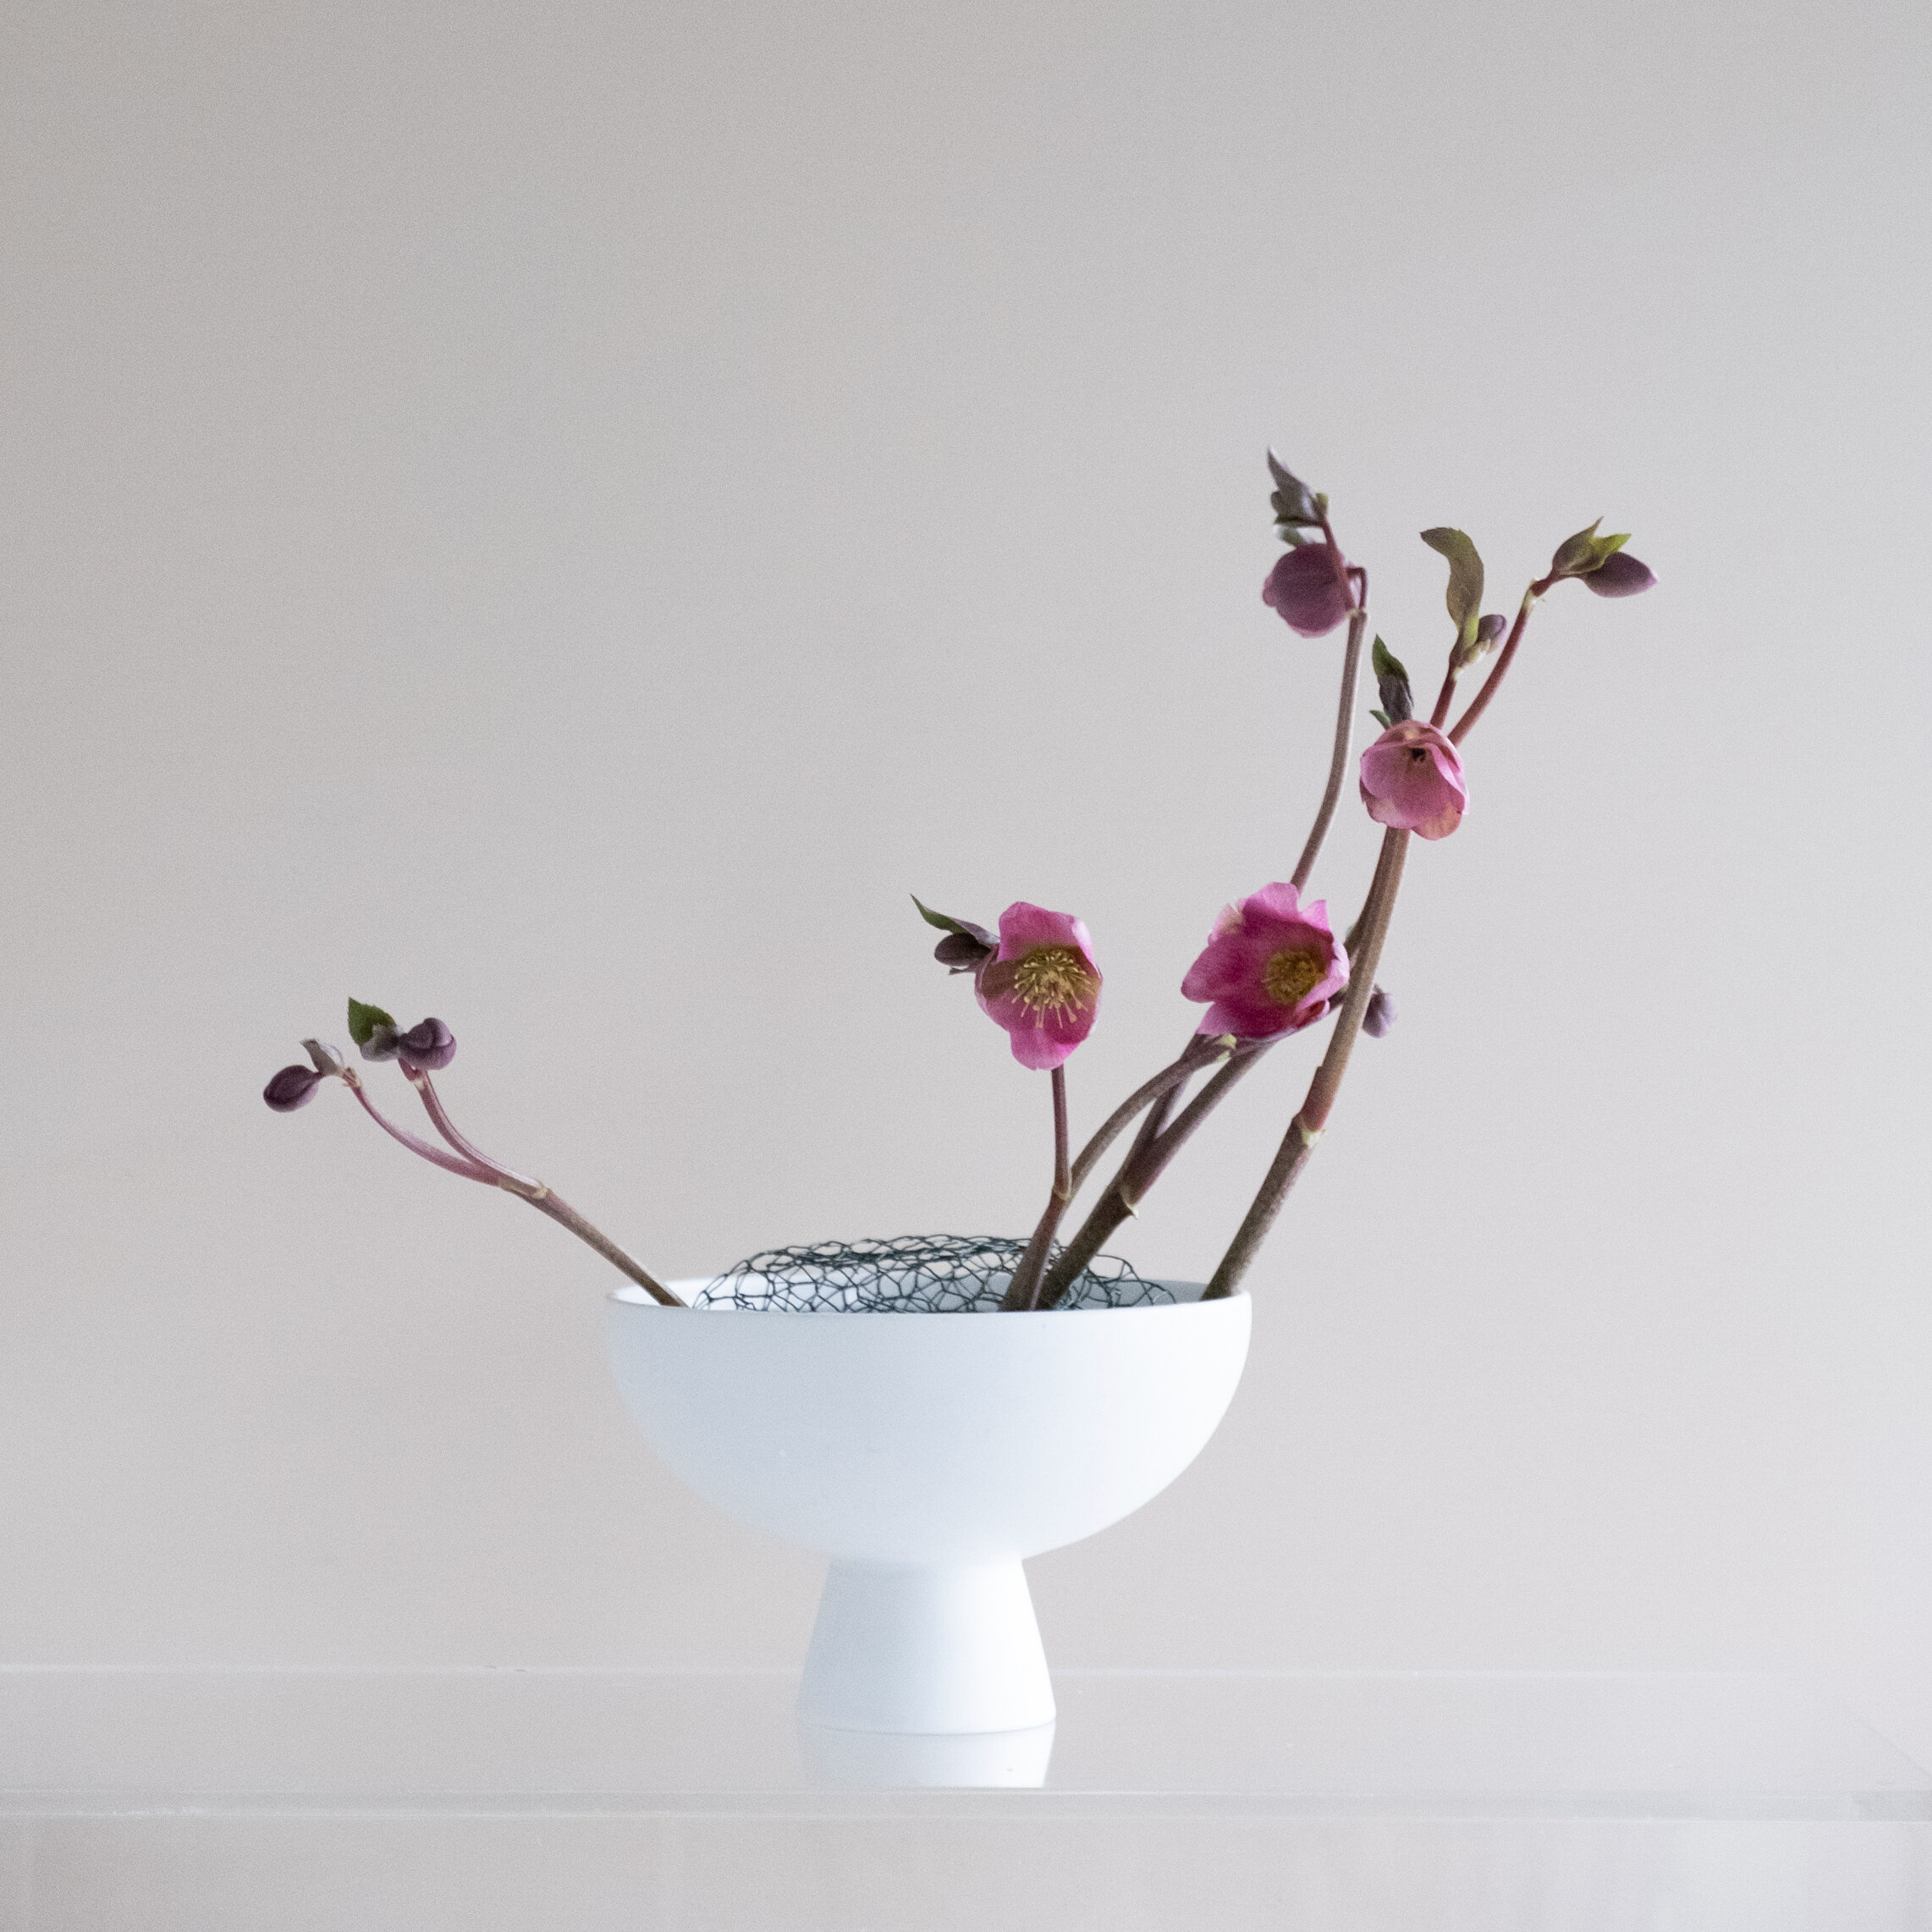
9. Continue to add Hellebore stems creating a stronger asymmetrical form, taller on the right of the vase, and shorter on the left. For the outermost stems, and the taller stems, try to arrange these into the pin holder, as this will provide the stems with additional support. Continue to add in further Hellebore, adding more open blooms within three key focal areas strengthening the asymmetrical form.
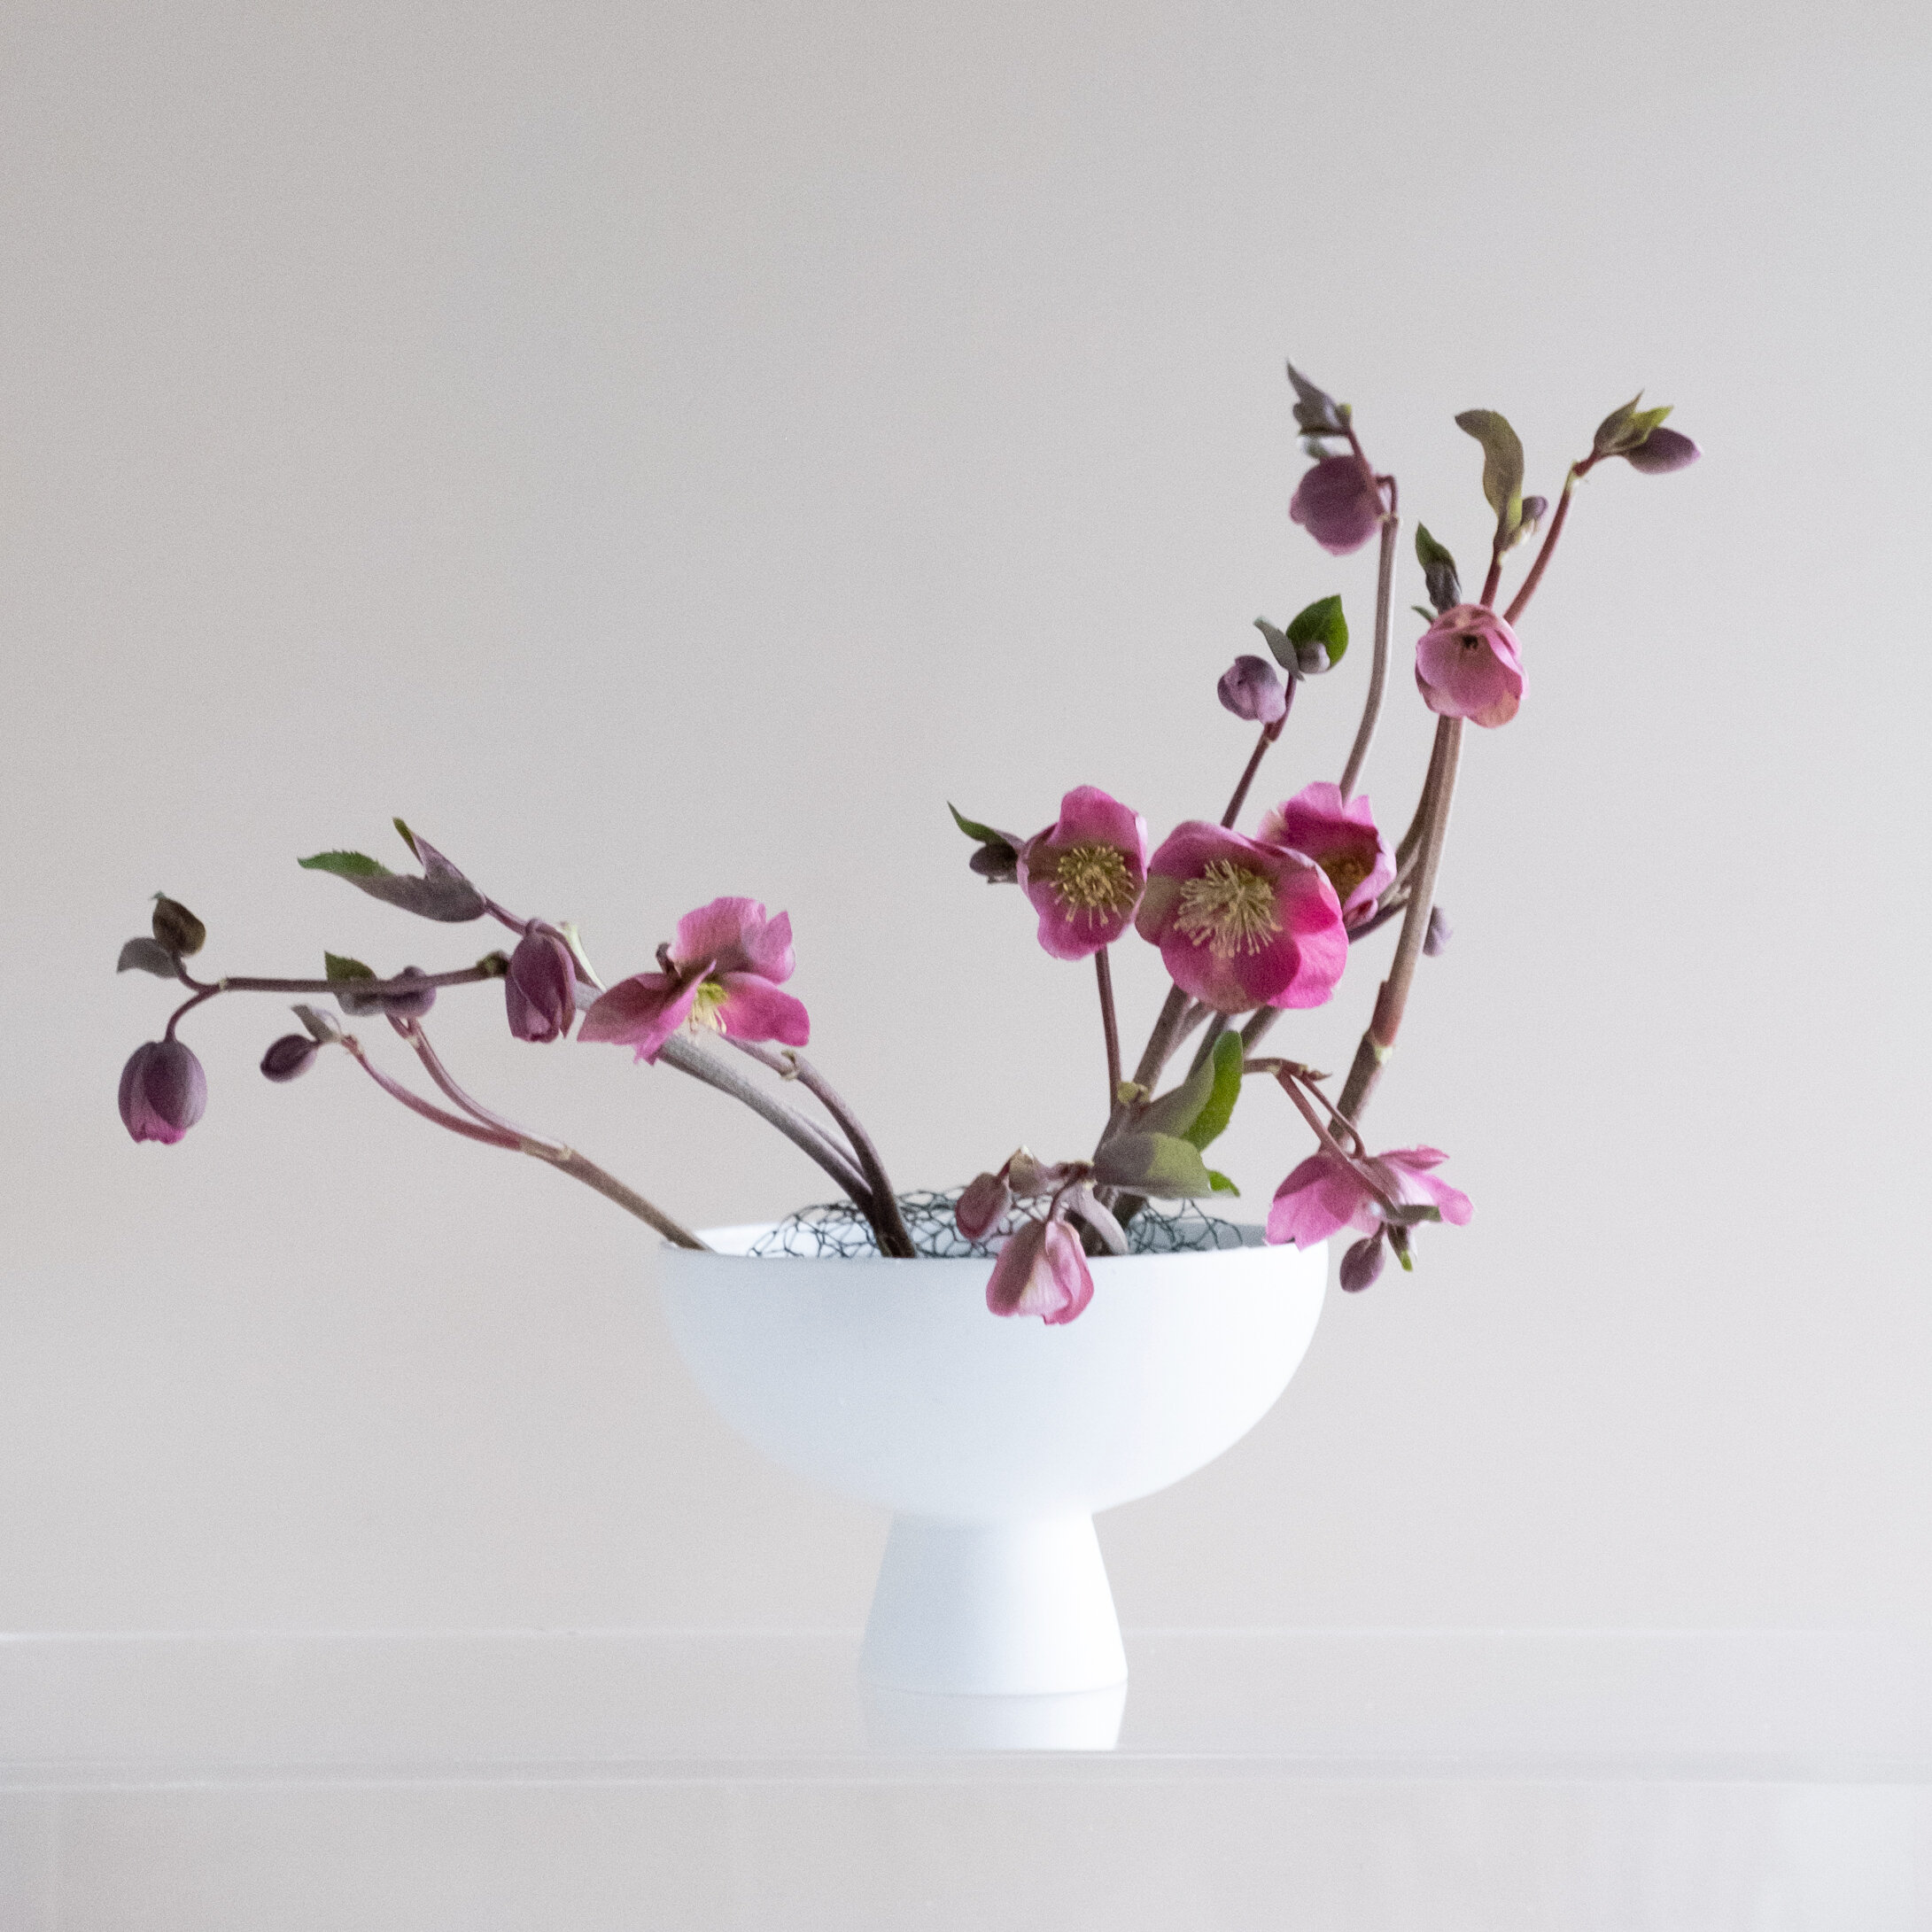

10. Next begin to add in the Ranunculus to the design, starting by adding them lower into the design, at first, and then later adding them further towards the outer edge and taller parts of your design. The Ranunculus stems will likely be held in place in the chicken wire, however, you can insert them into the pin holder if you wish.

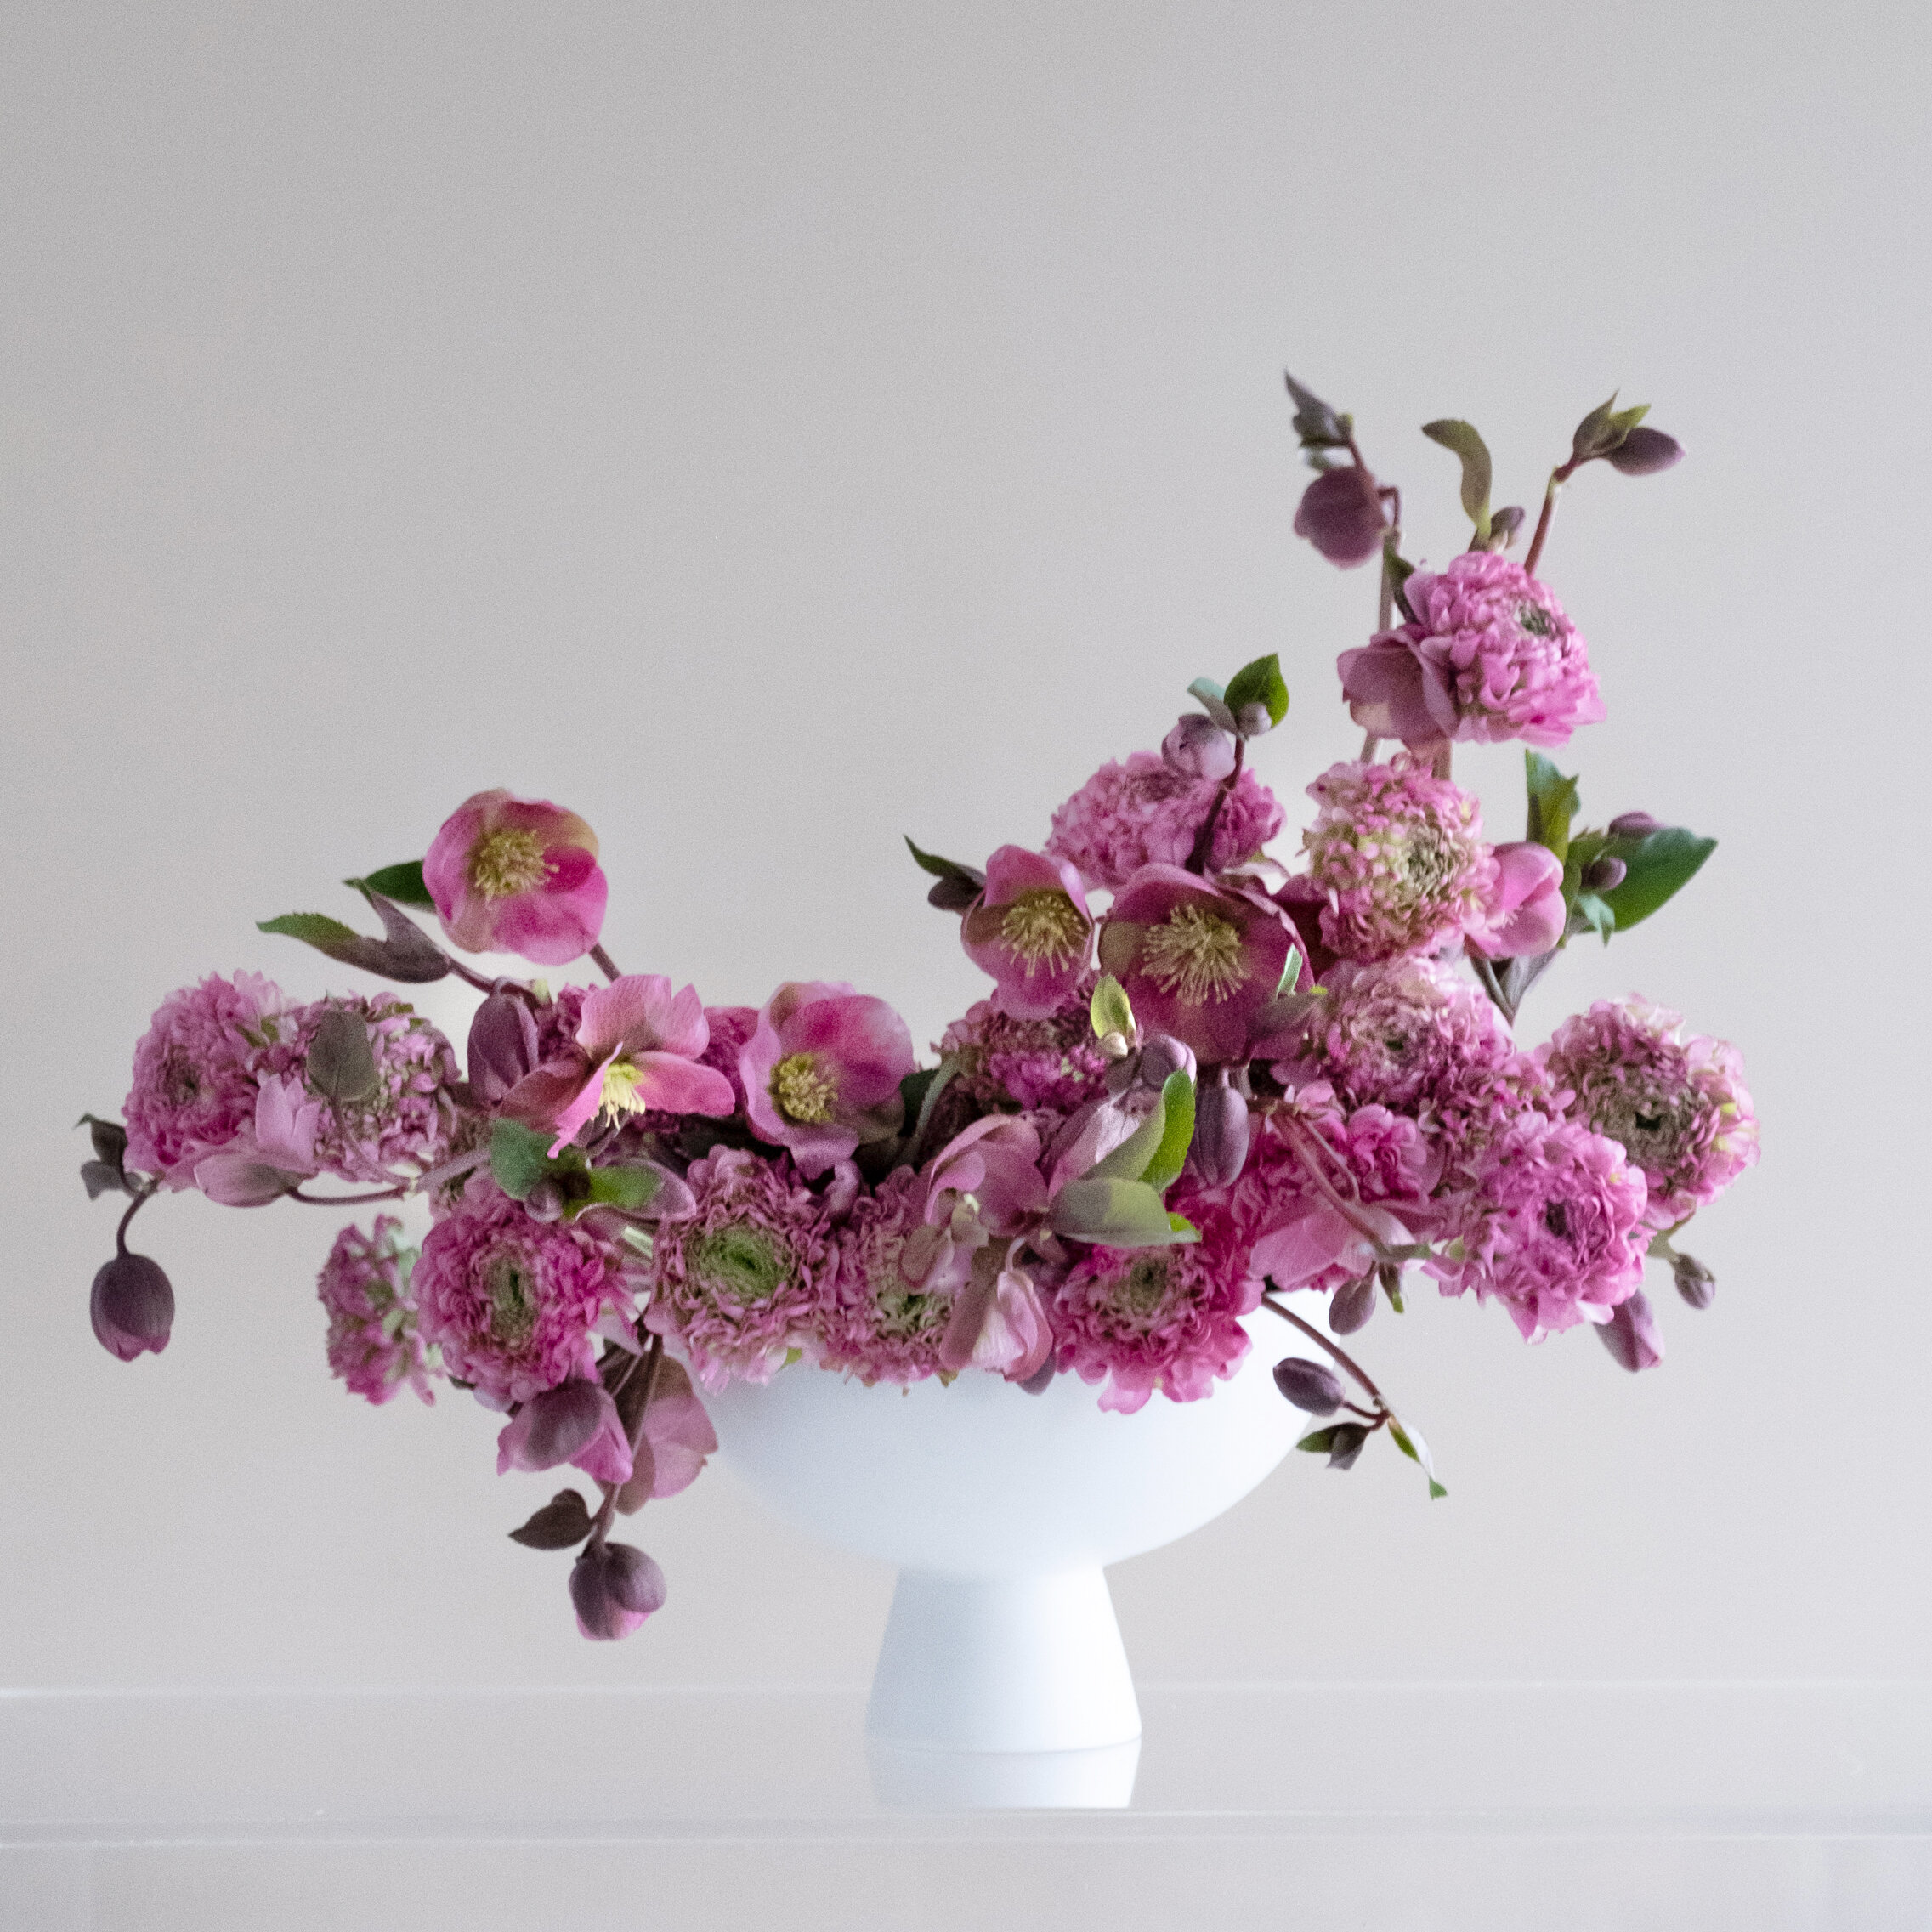
11. Continue to add in further stems of both the Hellebore and Ranunculus until your bowl is full of Spring blooms. Once you are finished, ensure that you have no chicken wire on show, and top the bowl up with water until nearly full. Sit back, relax and enjoy!

I would like to thank Joseph Massie for providing this wonderful tutorial for designing with these beautiful spring blooms. It’s truly amazing what can be created with two types of blooms and a great design. I hope you feel inspired to try this design and when you do, please share it on social media and tag @theflowerpodcast and @josephmassie ! You have through February 2021 to use the links below to save $100 on the annual membership to Joe’s new online learning platform called ‘Flower Class’!
Be sure to listen to my chat with Joe or watch on our YouTube Channel. Serious content but with laughter and a lot of fun.